Boring Bar Holder Adapter
A turned sleeve for a oversized bore.
A Solemn Promise: No boring/boring puns will be made in this article, or any others hereafter.
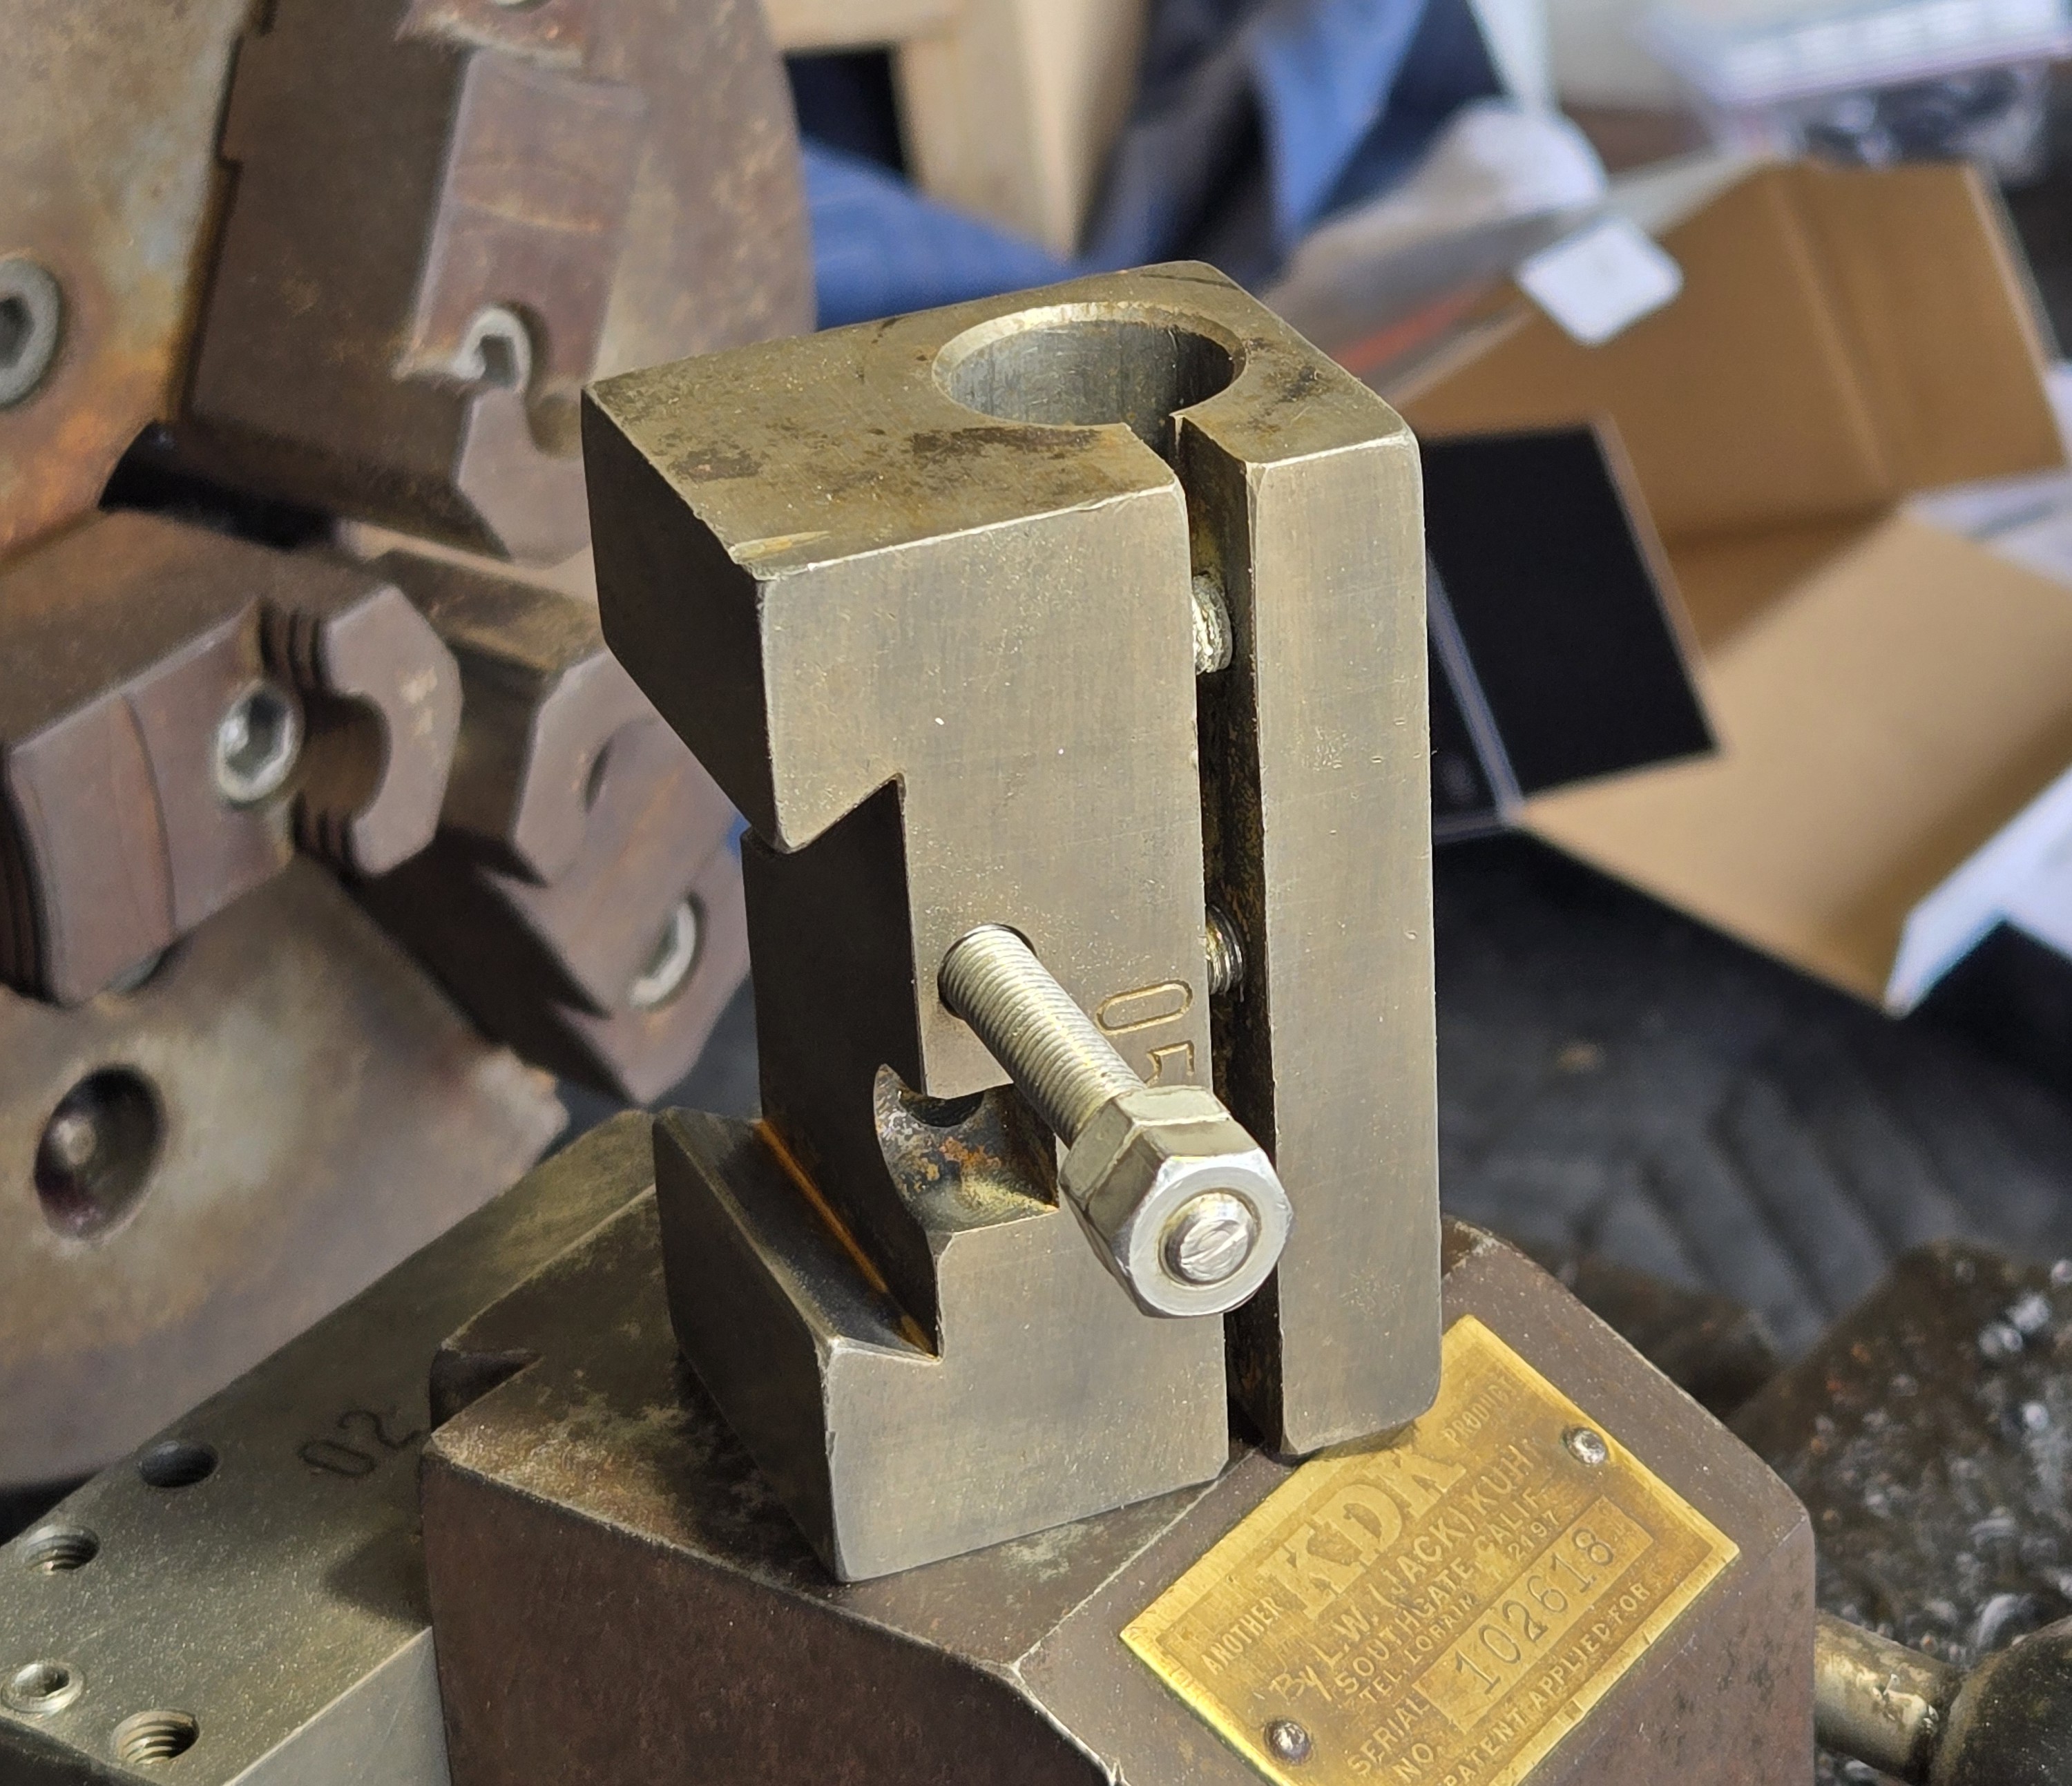
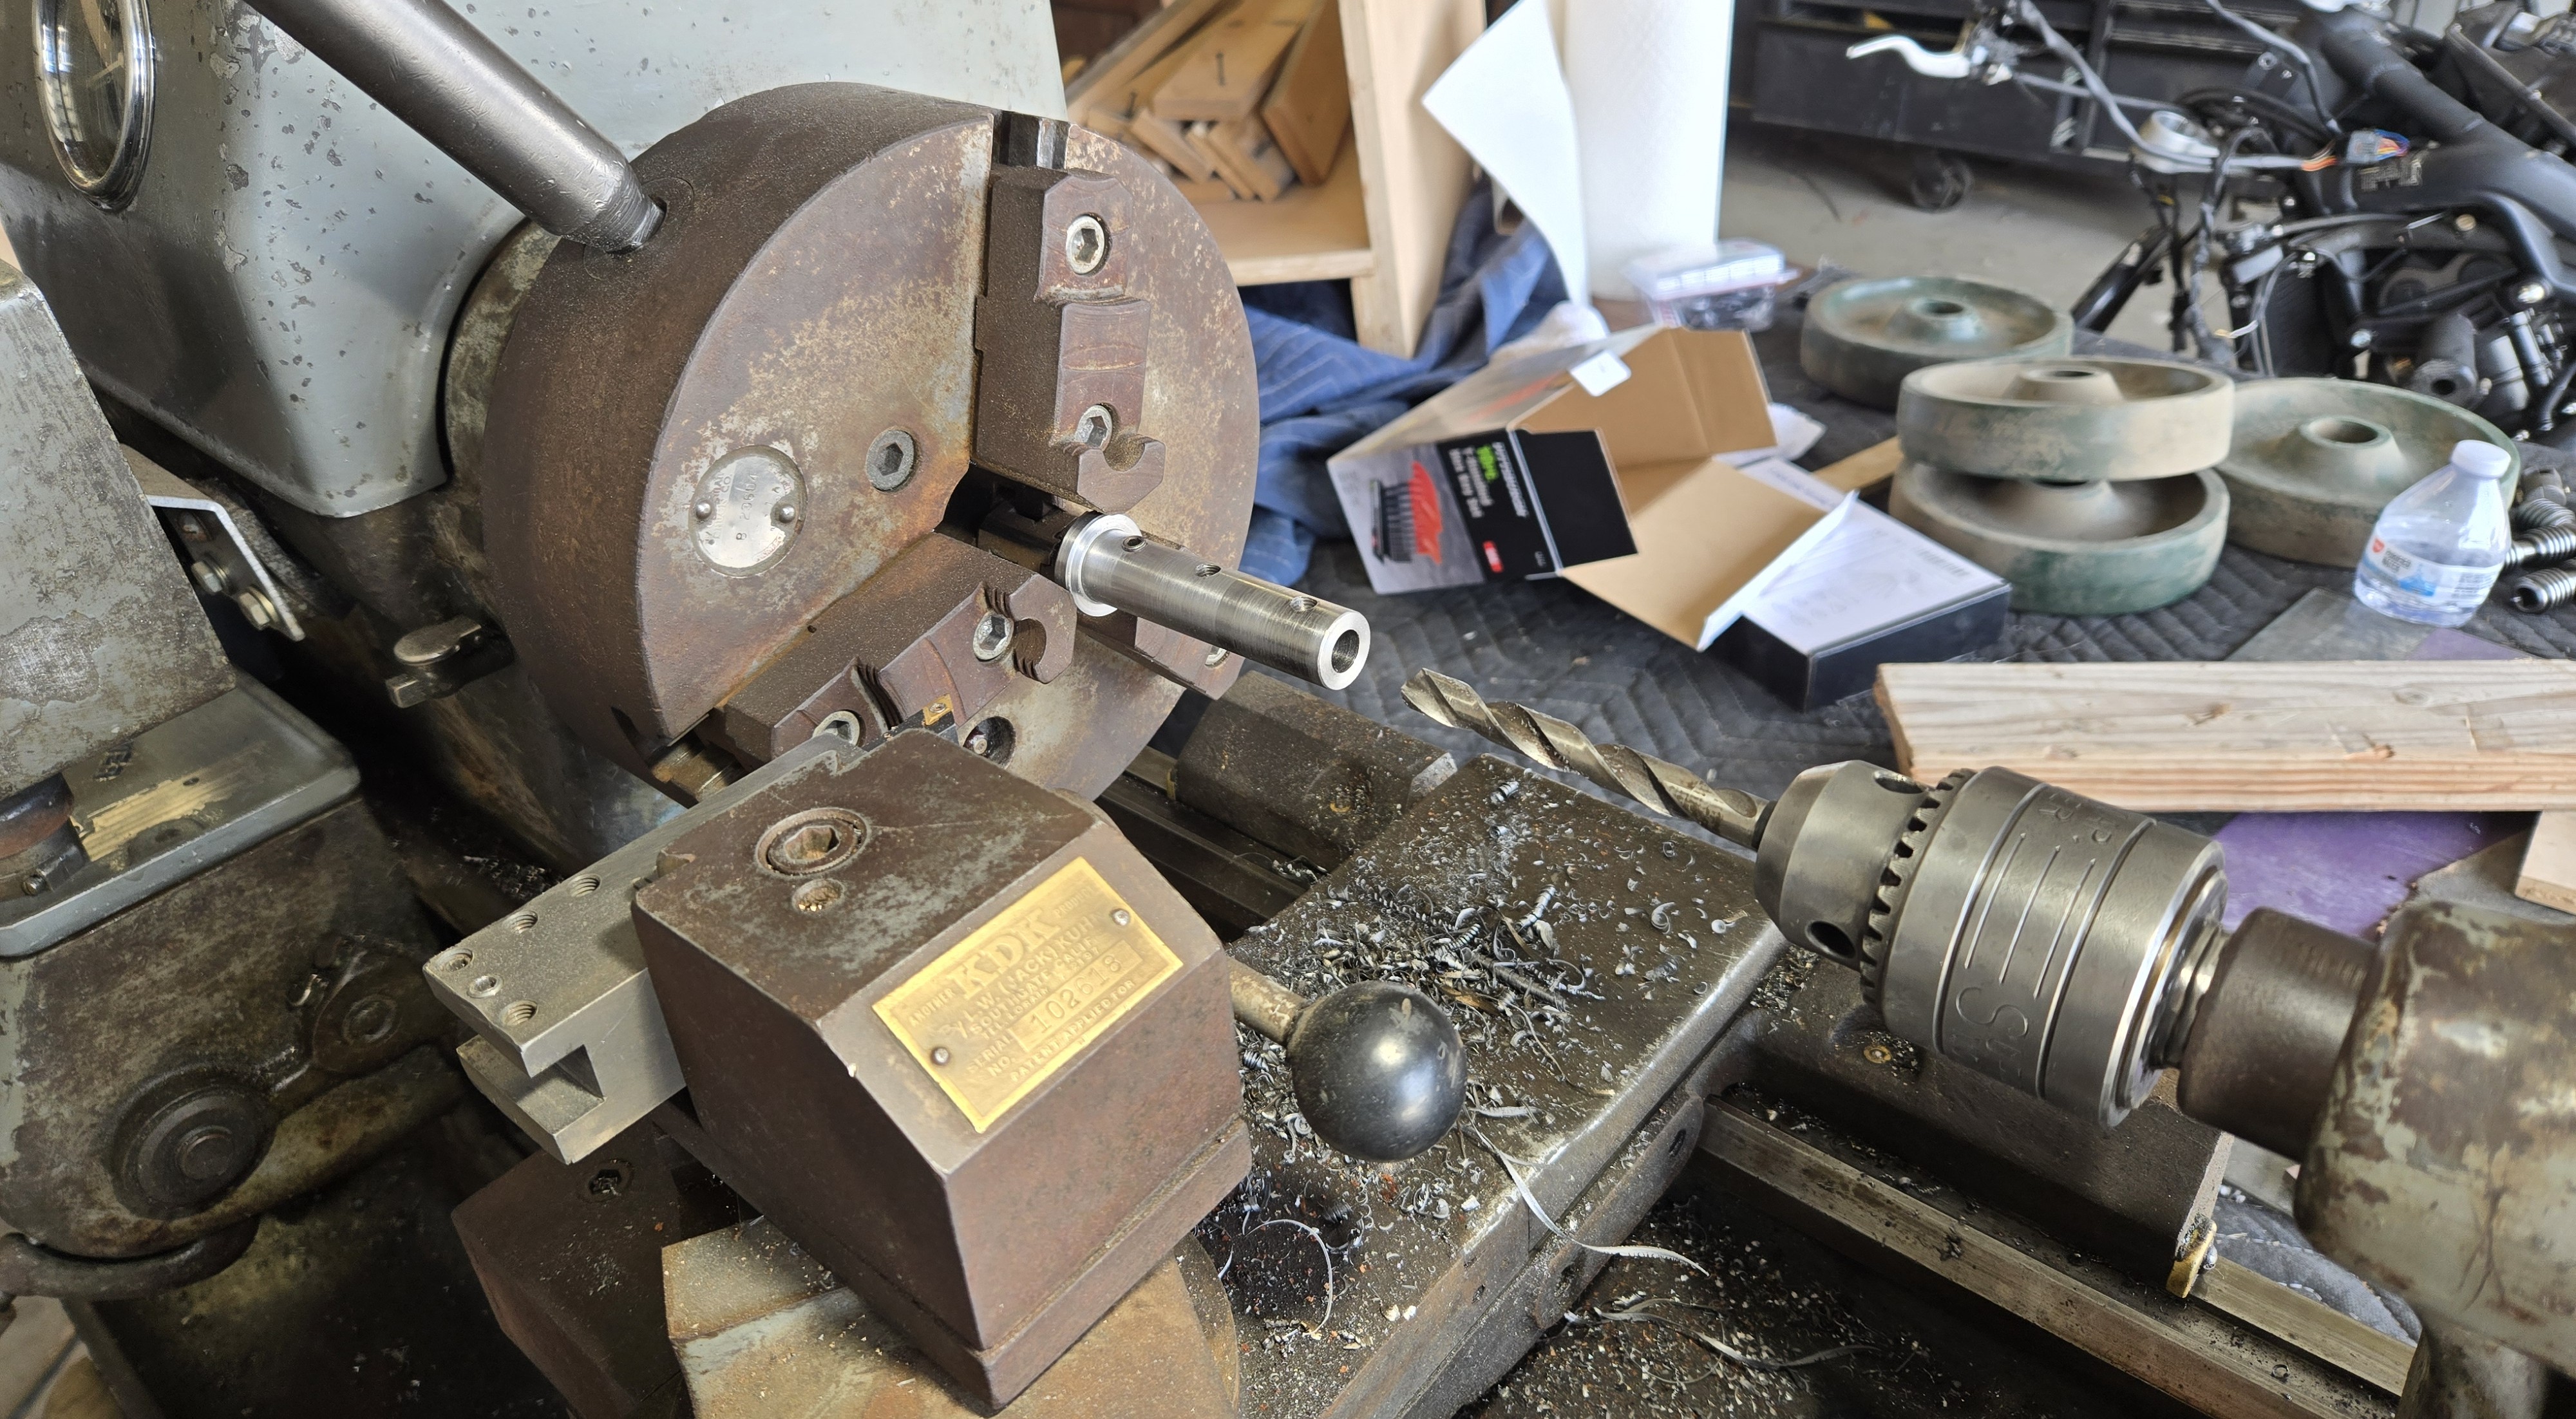
As I mentioned in the acquistion article, the 10mm shank carbide insert tooling I bought fits in most of my toolholders, except for (what I believe is) the boring bar holder. It is a typical clamping style holder, a 3/4” bore with a slit and socket head cap screws to tighten it up.
I didn’t take any pictures while making this so you’ll see the finished part the entire time.
The toolholders cleaned up pretty nicely in the Evaporust bath.
I typically clean off the carbon film left by the Evaporust with a brass wire brush, but this leaves a golden cast on the surface. It comes off fairly easy with Scotchbrite, or even the big wire wheel, but I hate extra steps.
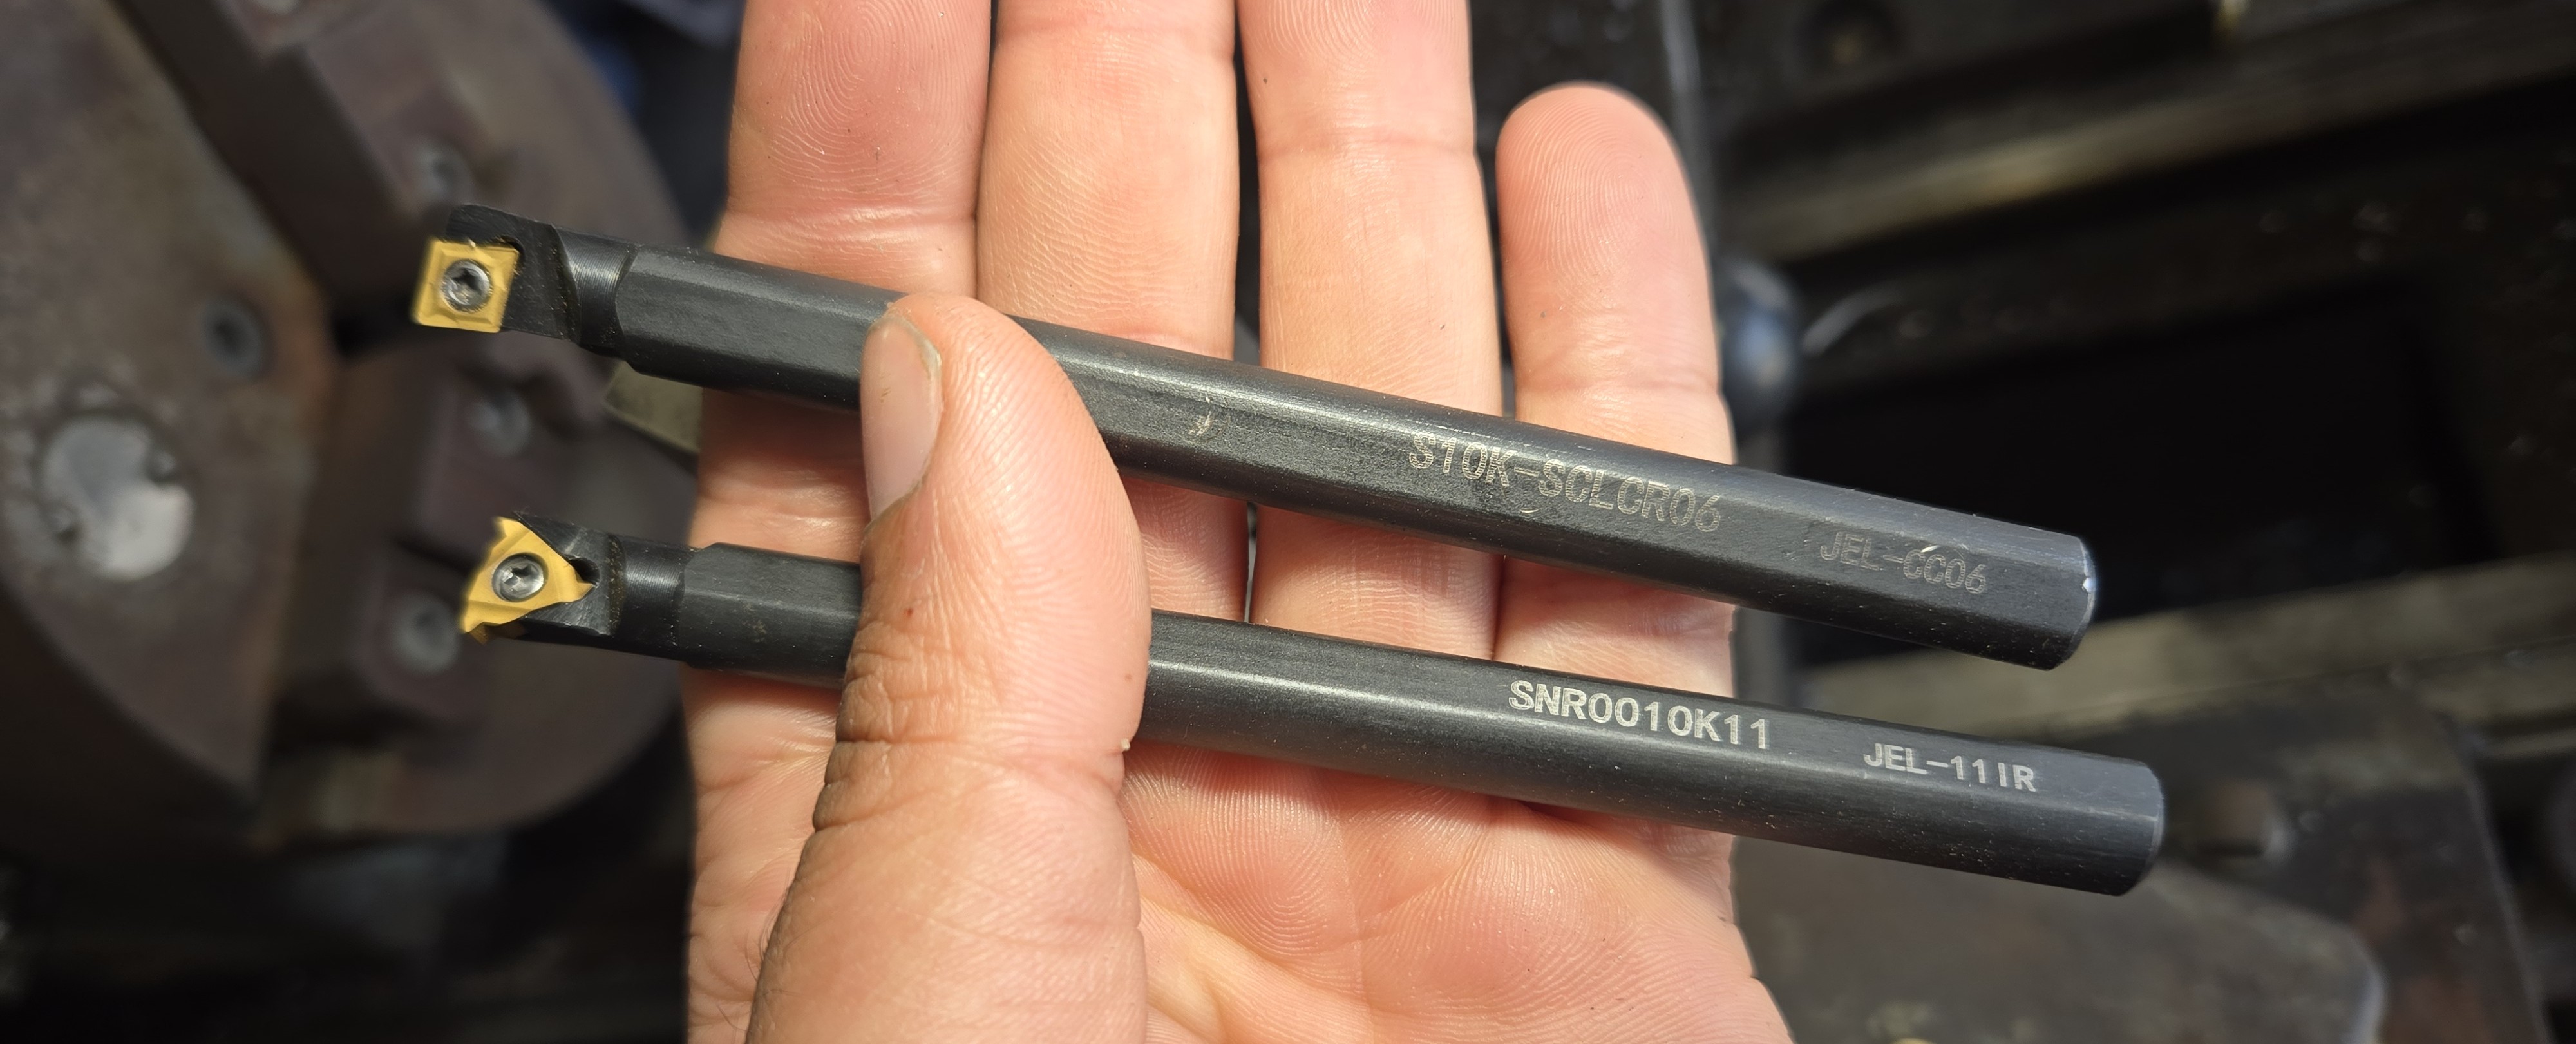
I suspect this thin shank will chatter quite a bit taking a big cut, but a small boring bar retains its utility late into a machinist’s life.
I briefly considered 3D printing a part but this is a simple enough problem to solve for a man with a lathe. All I need to do is turn a cylinder to fit the boring bar holder and bore it out to fit the boring bar holder. In fact, it is such a simple part I did absolutely zero planning. I spent longer finding a piece of stock to turn this out of than I did thinking about how I was going to make it.
I found a piece, something like 1-3/8” in diameter and fairly clean, an offcut from a tilt lock pin for a fifth wheel I made earlier this week.
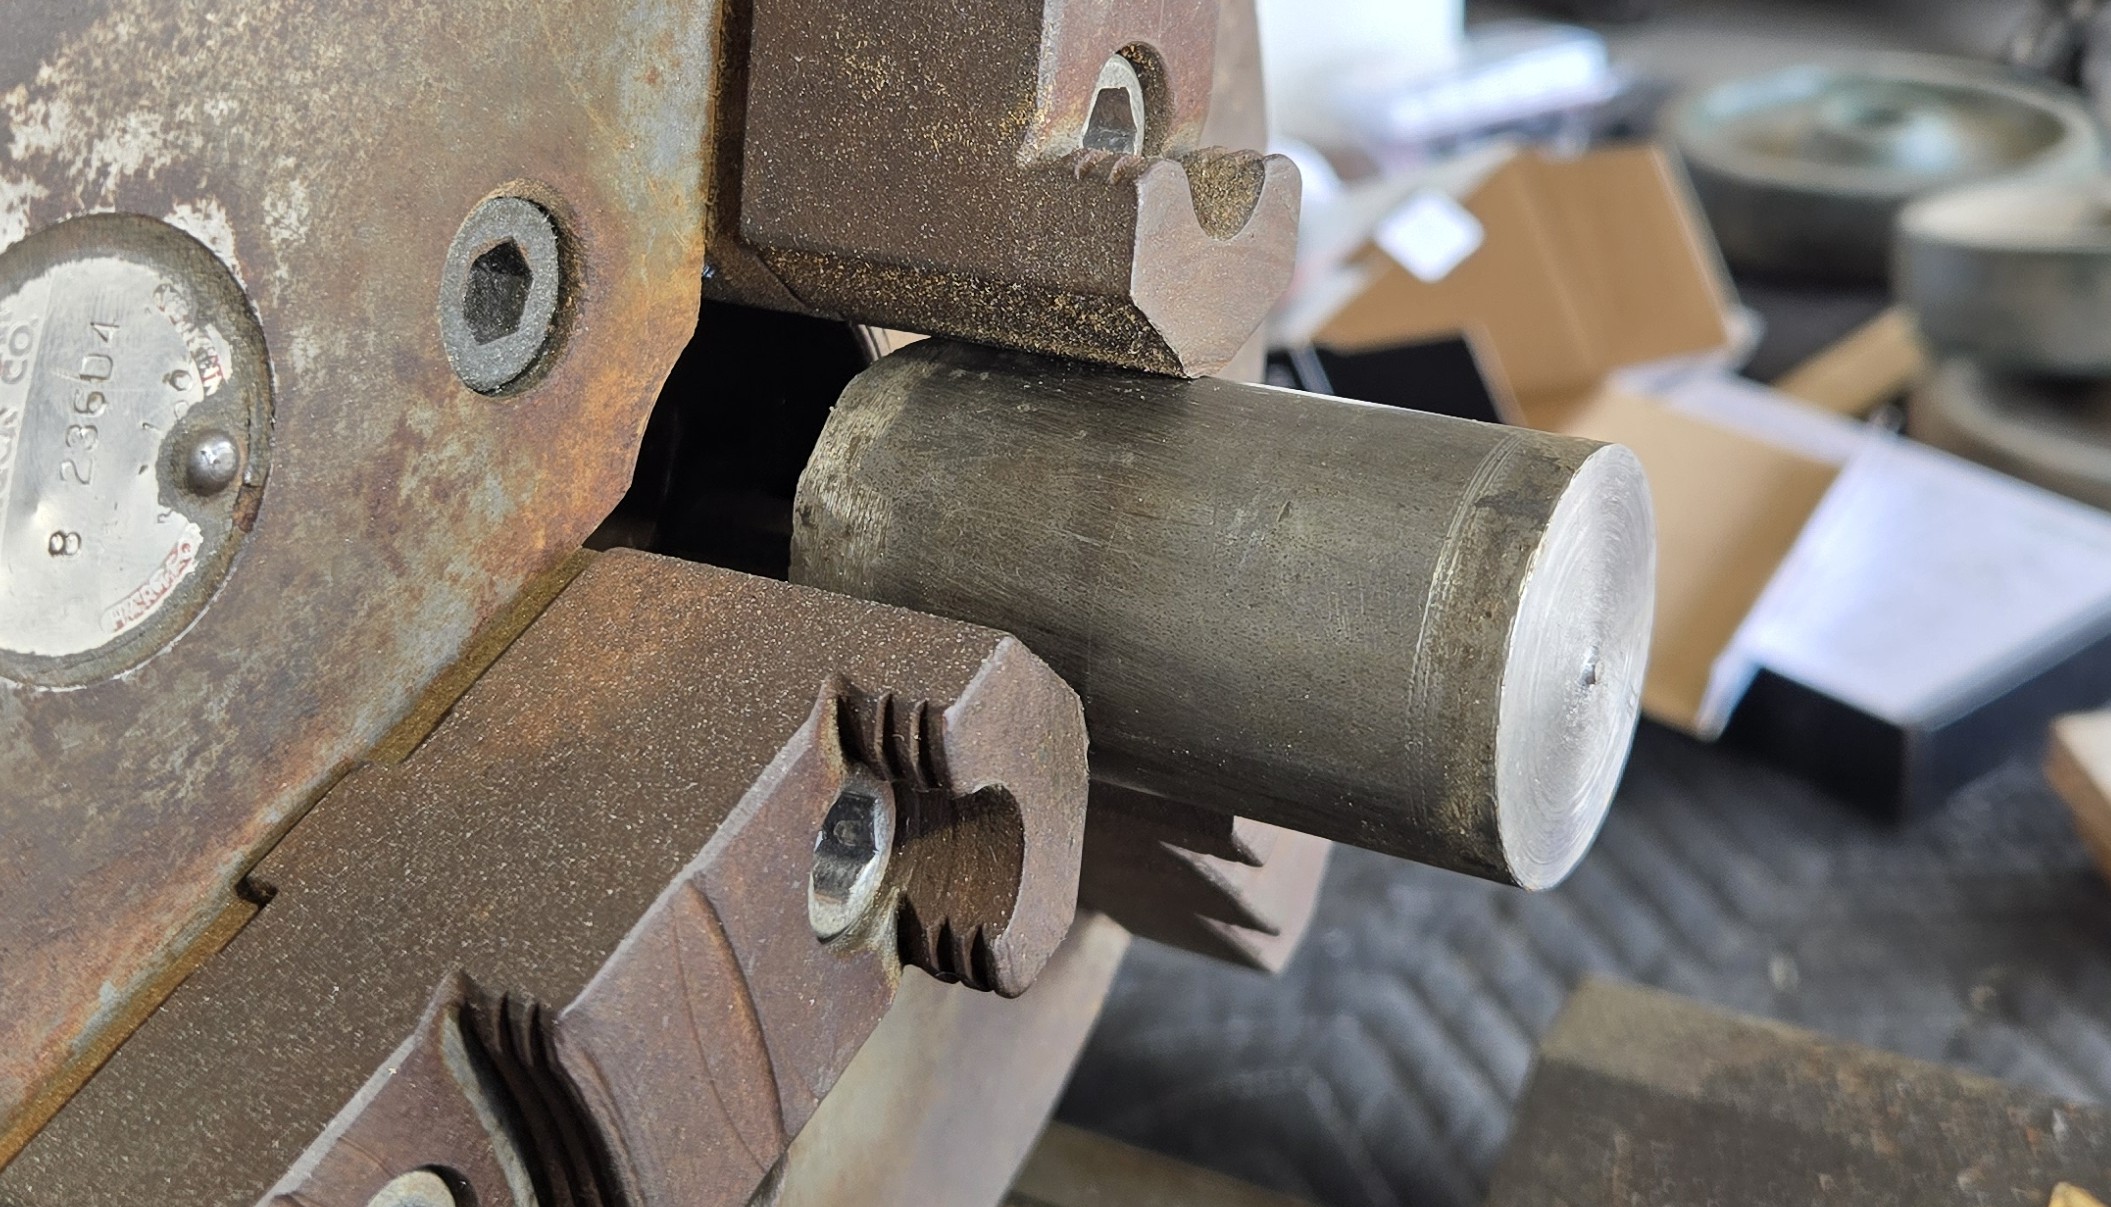
Large boring operations typically relieve the worst of the internal stresses in the material and cause warping so it’s best to do that before the outer diameter. Thankfully, I have a 10mm drill (literally my only metric drill) that will get us close enough for the fit on the boring bar shank.
The surface finish from the drill is not the best, but the holder needs only hold the bar statically, so no worries.
I turned the stock roughly to diameter before upping the RPM and taking light cuts until the holder slips on nicely. The surface finish is quite admirable from this brand new insert.
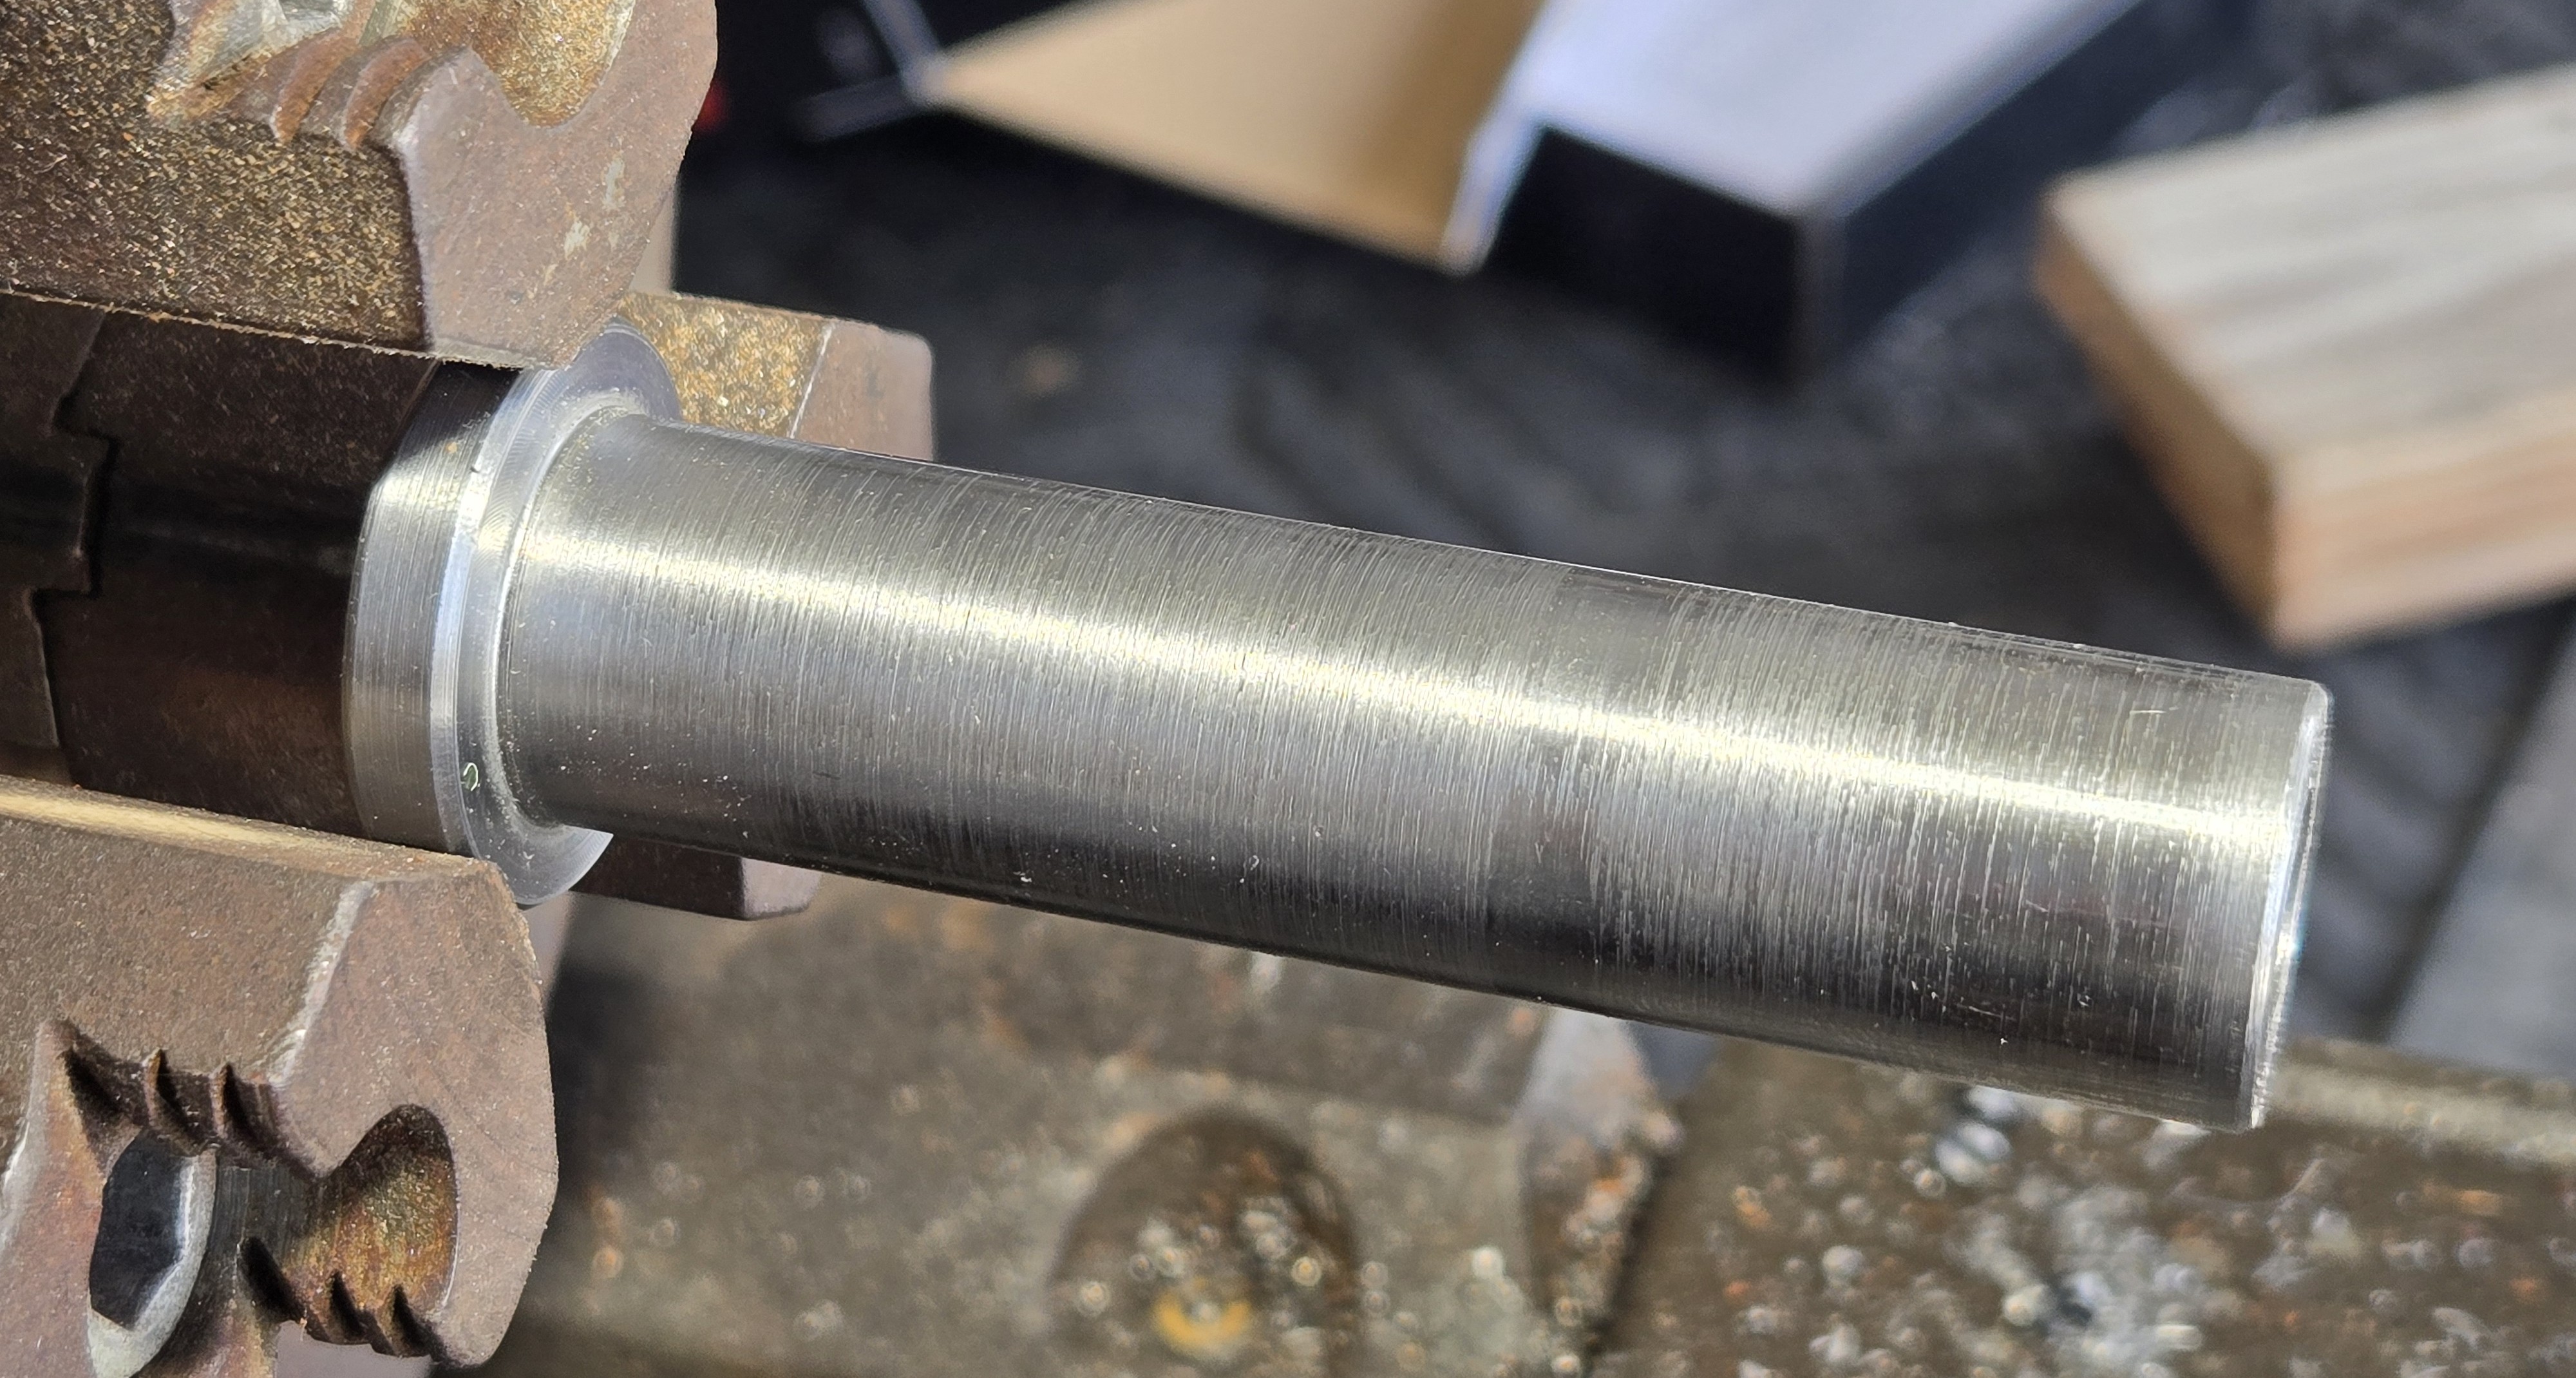
The flash makes this look worse than it actually is.
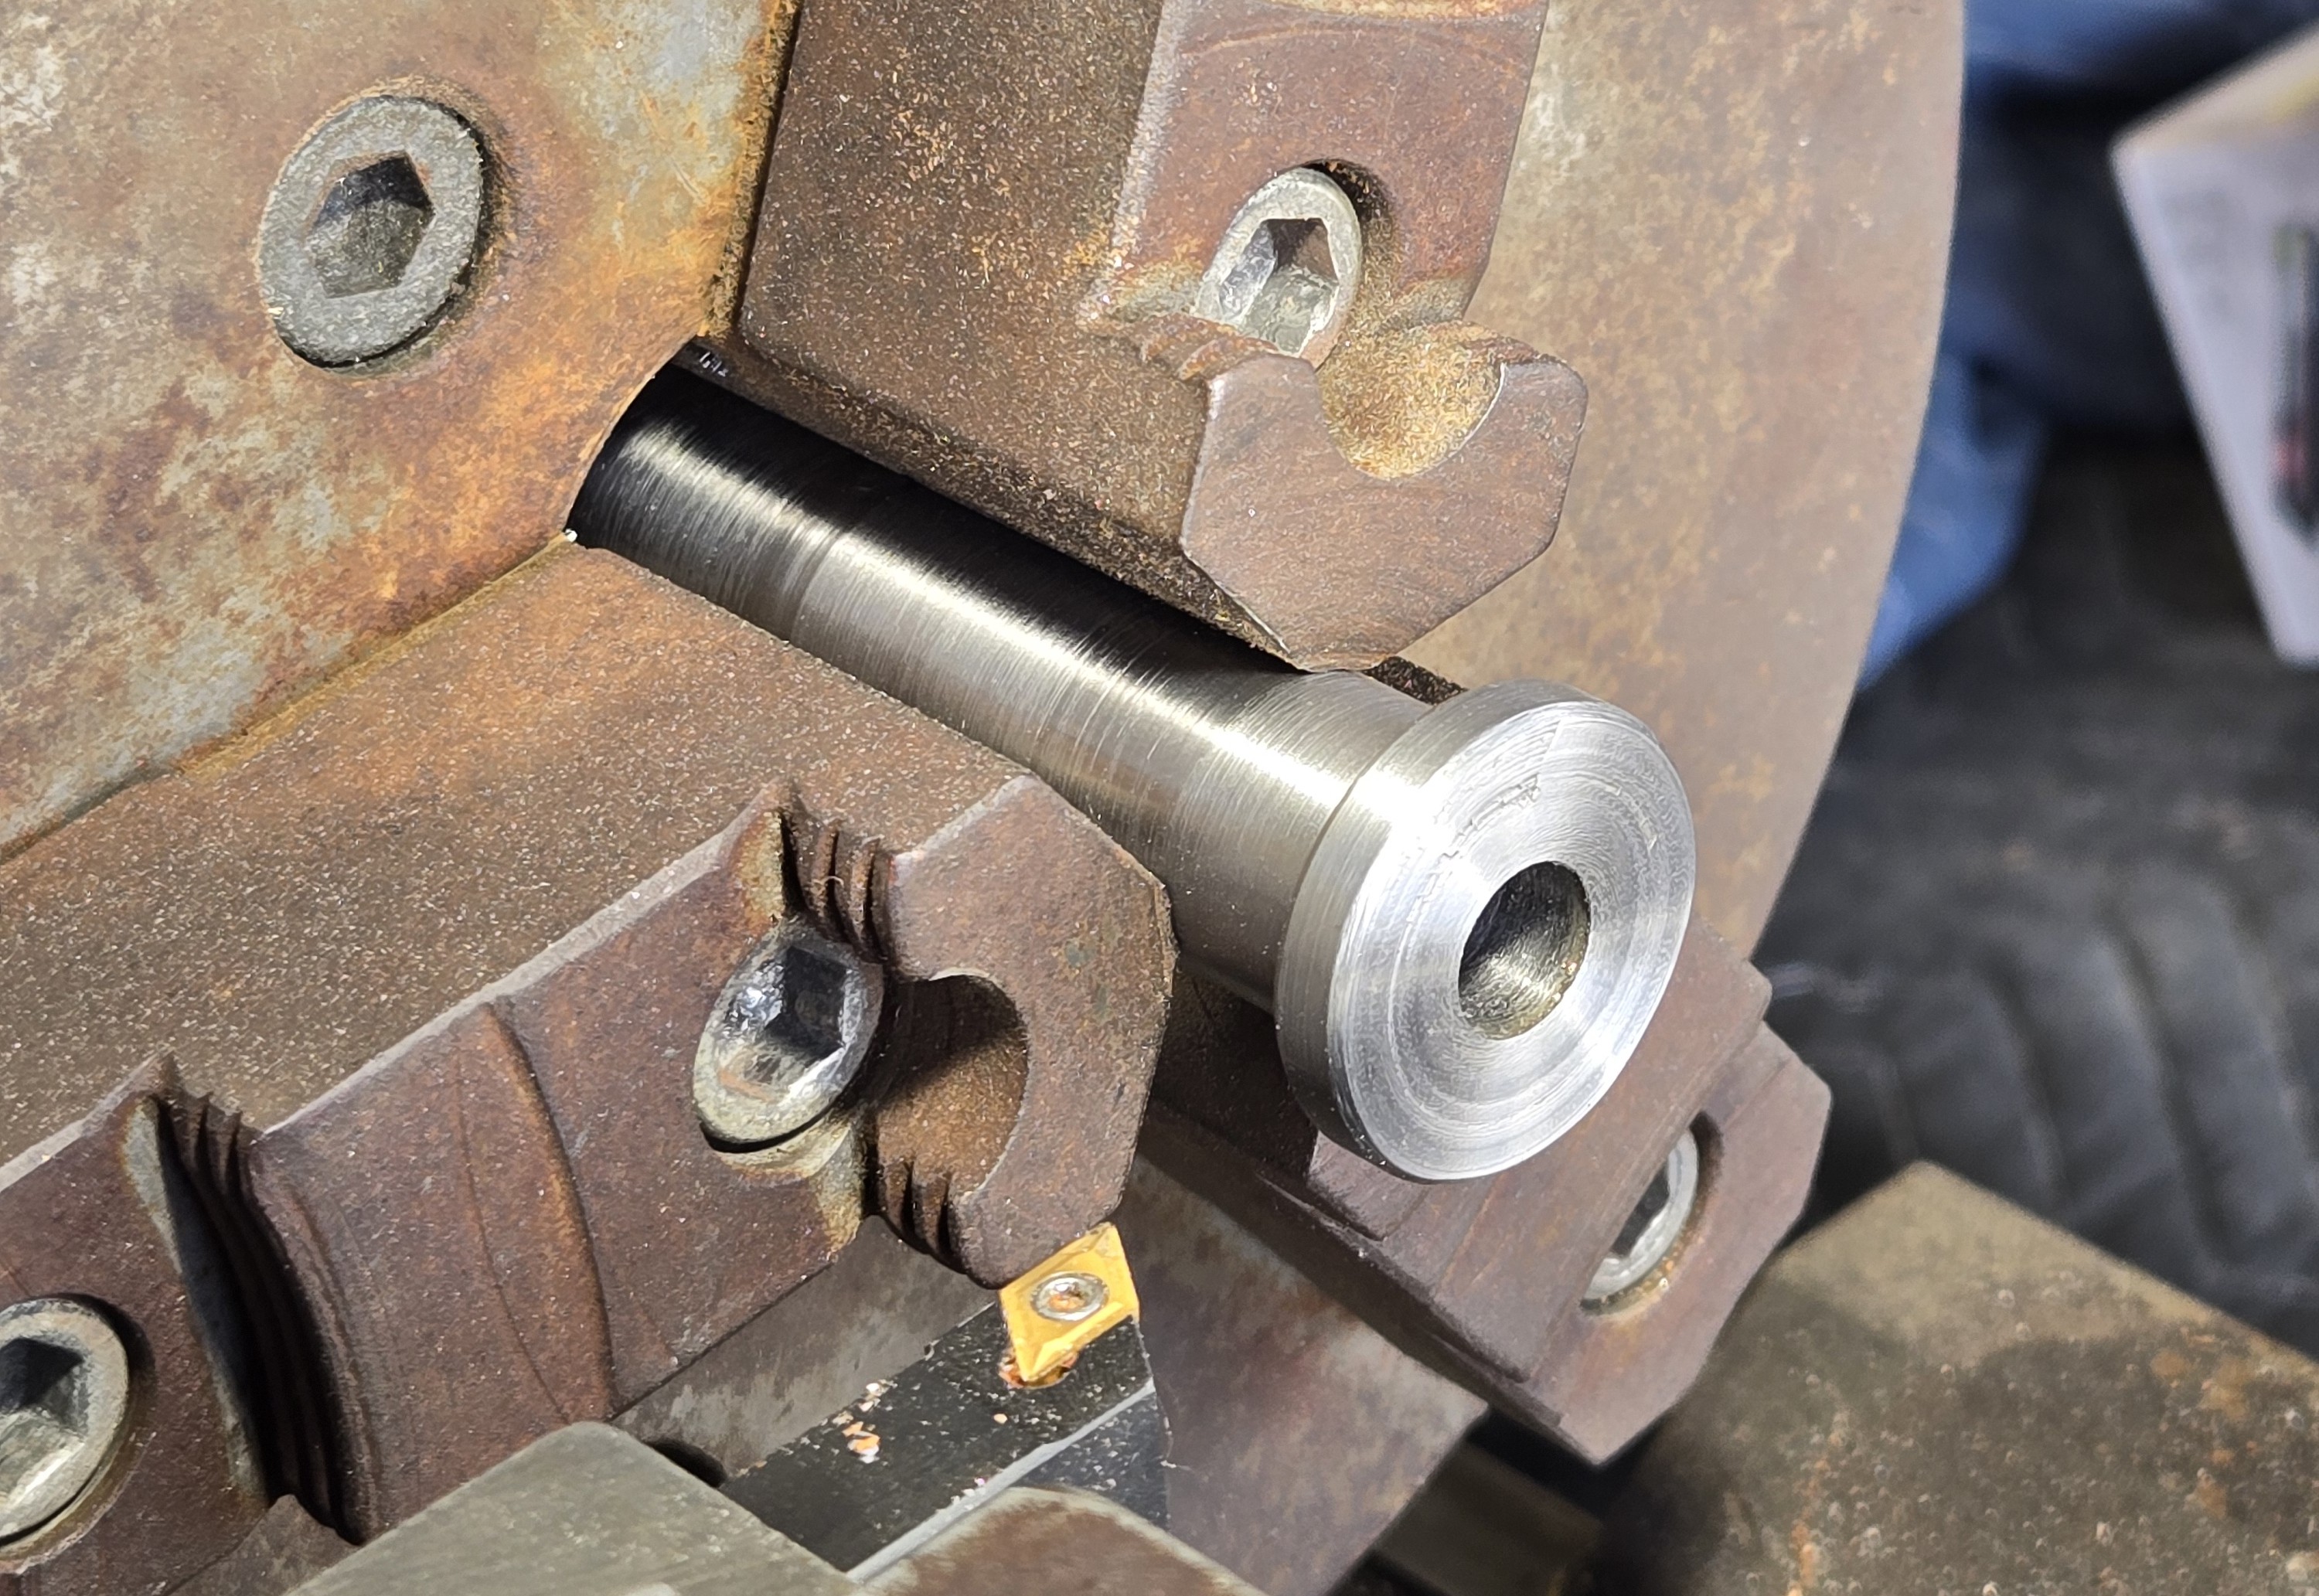
At this point, I was still holding on to the excess stock in the chuck, mill scale and all and turned it around intending to part it into a simple cylinder. But pulling it out and looking at it, I thought it’d look quite attractive with a nice flange. I parted the end to a suitable thickness and stuck a hefty chamfer onto it.
I hate parting, I’m always scared and inevitably I get a terrible surface finish. I took one or two cleanup passes but left some of the scarring as a “parting gift.”
The flange has an additional benefit of locating the adapter to the proper depth in the holder.
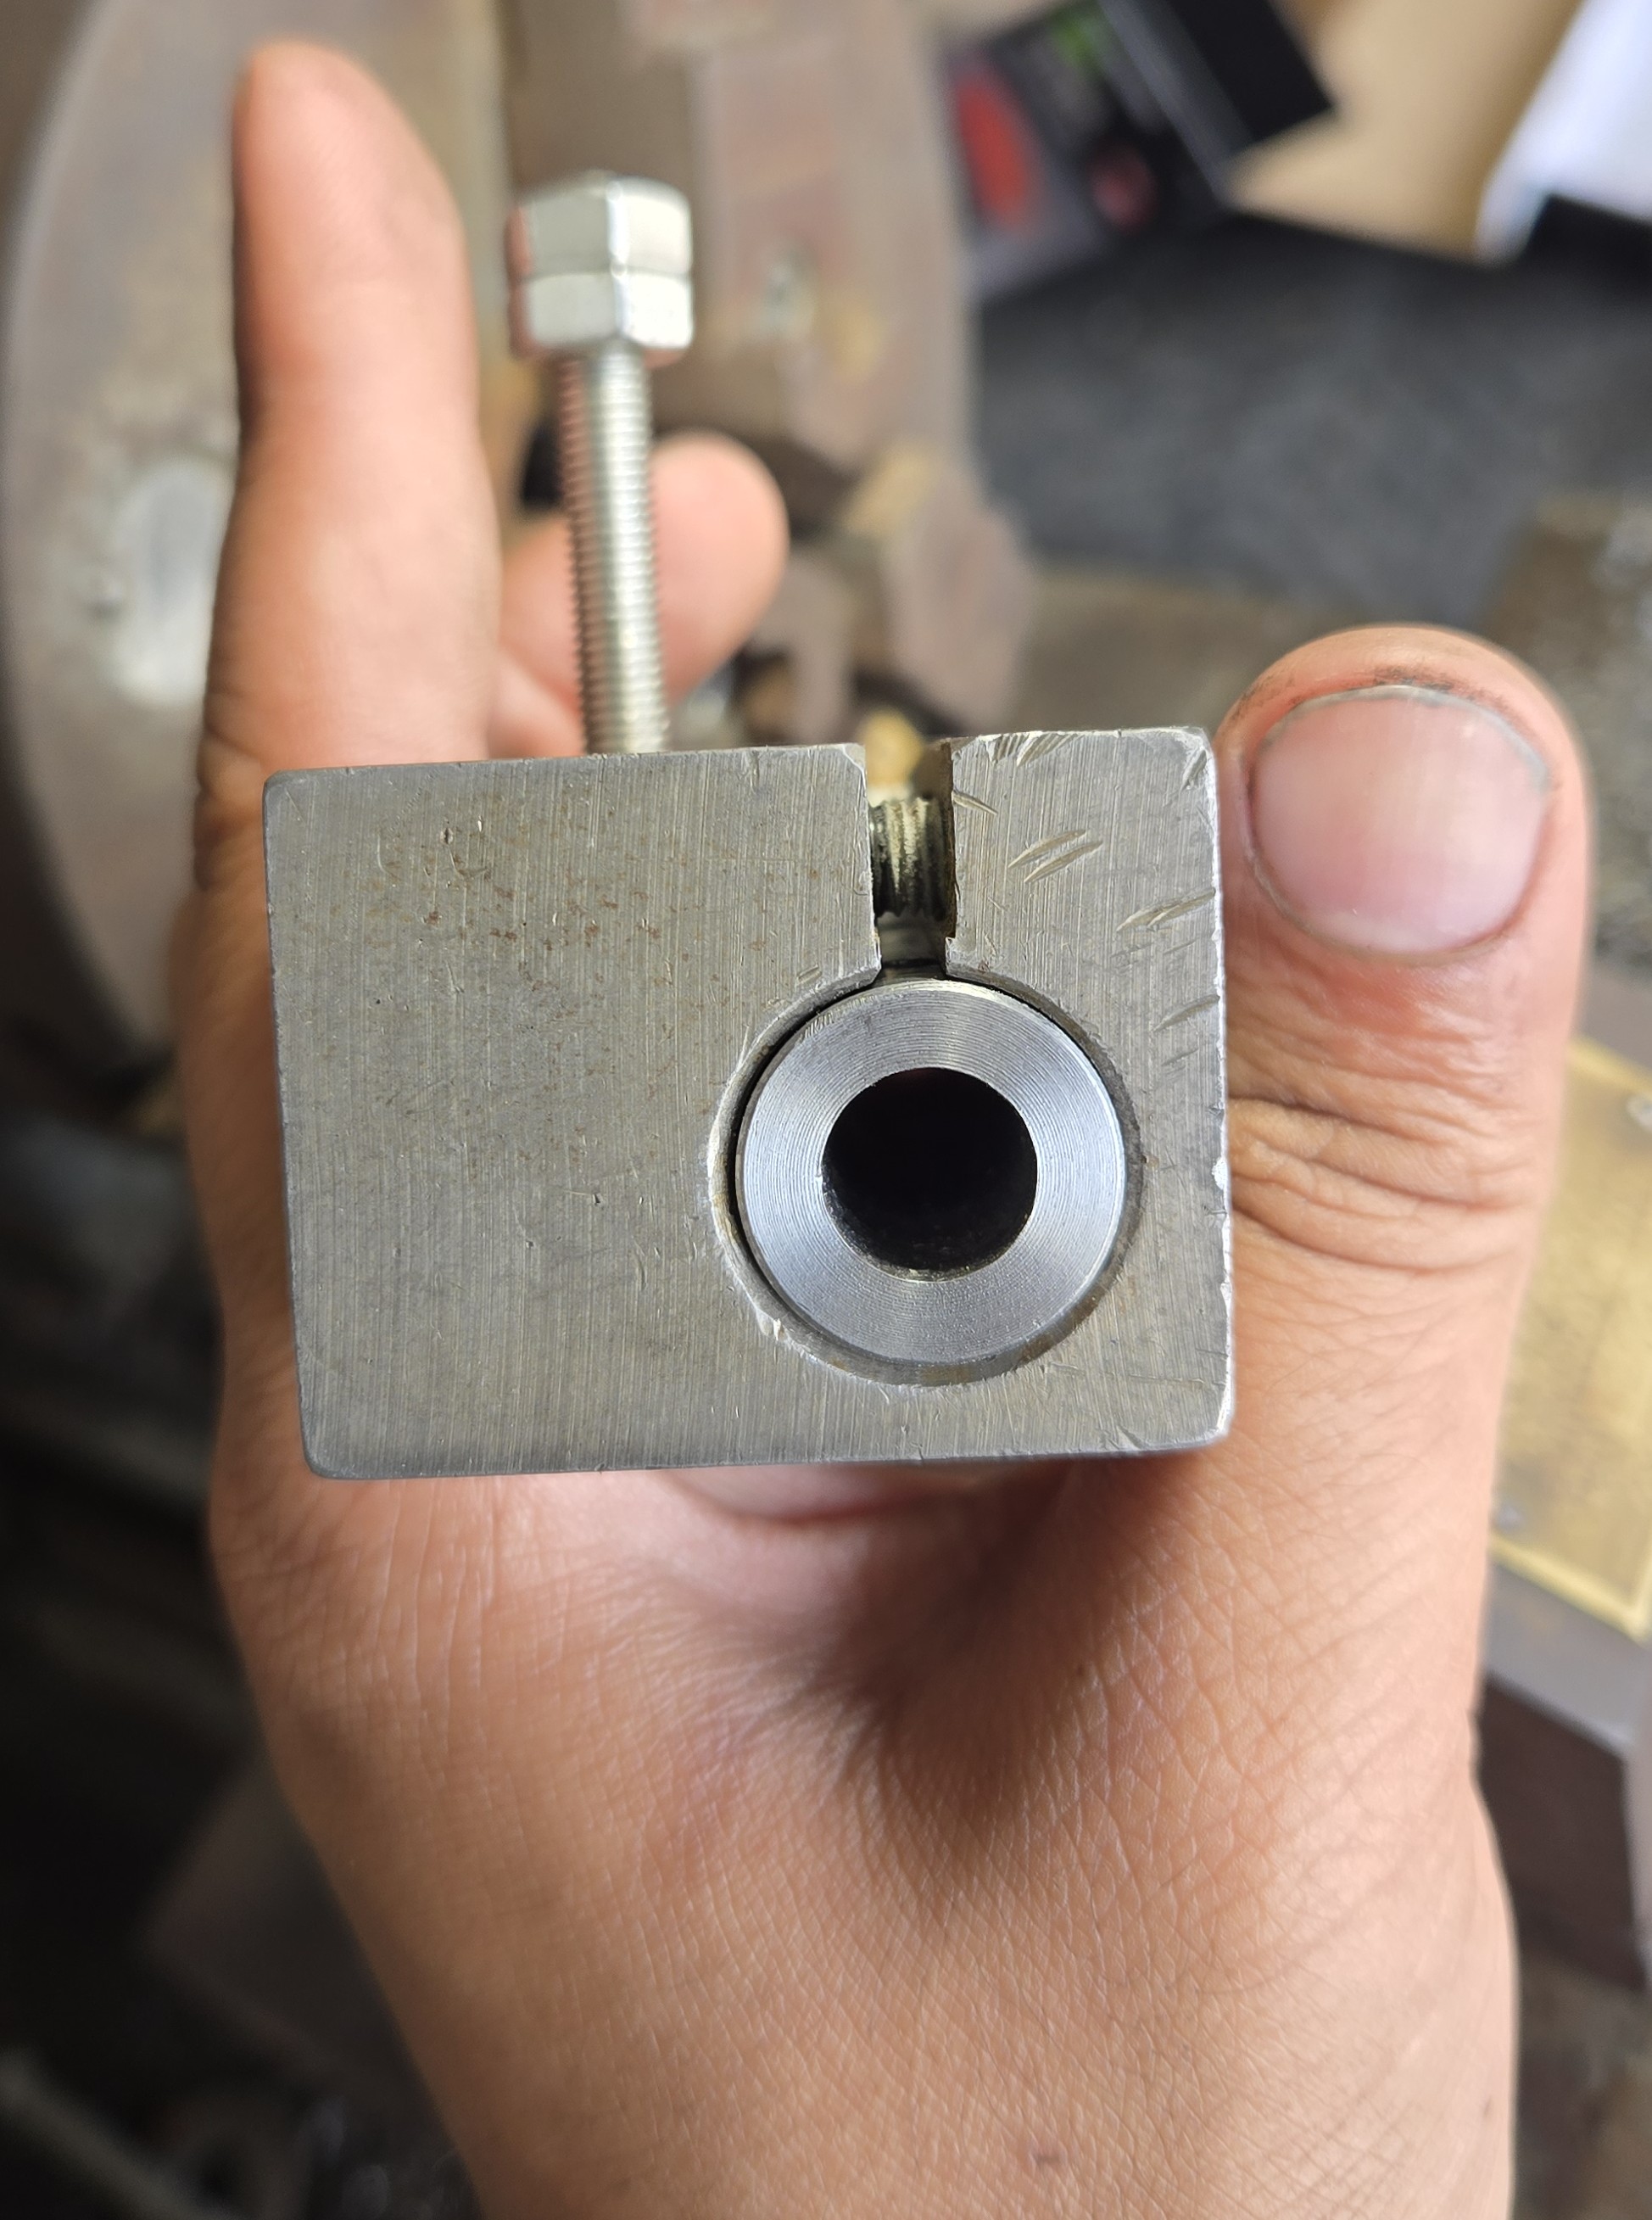
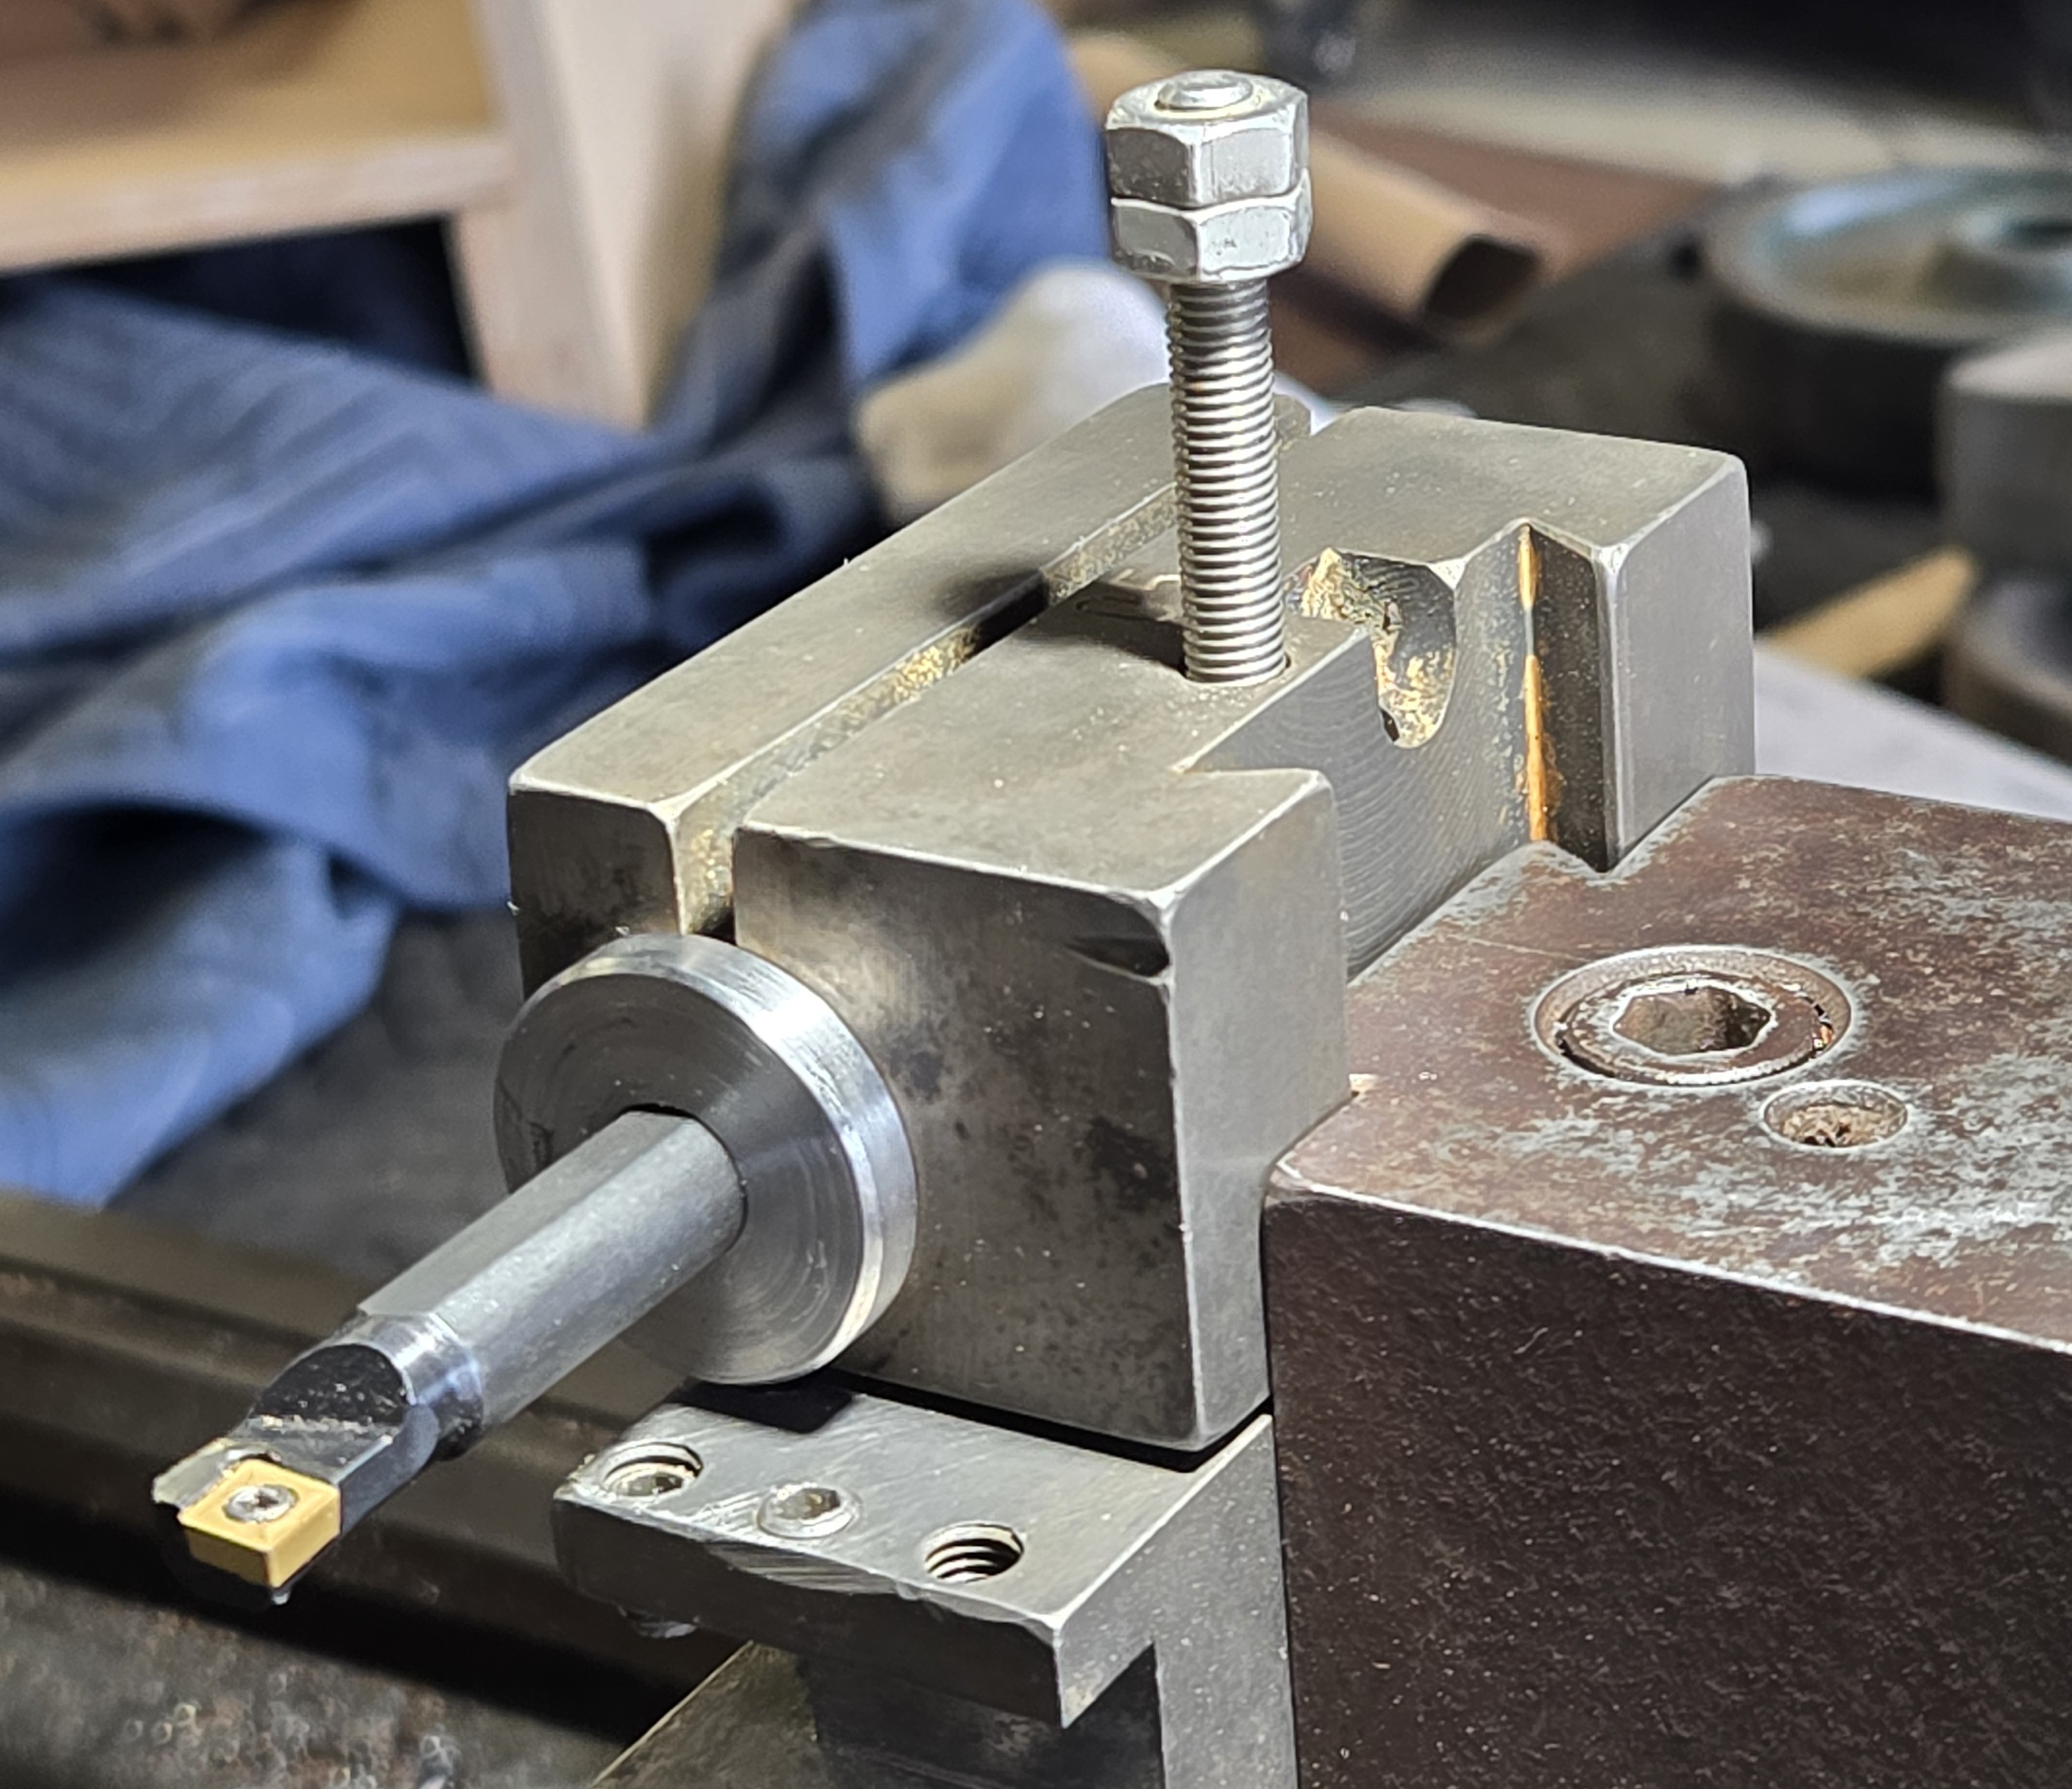
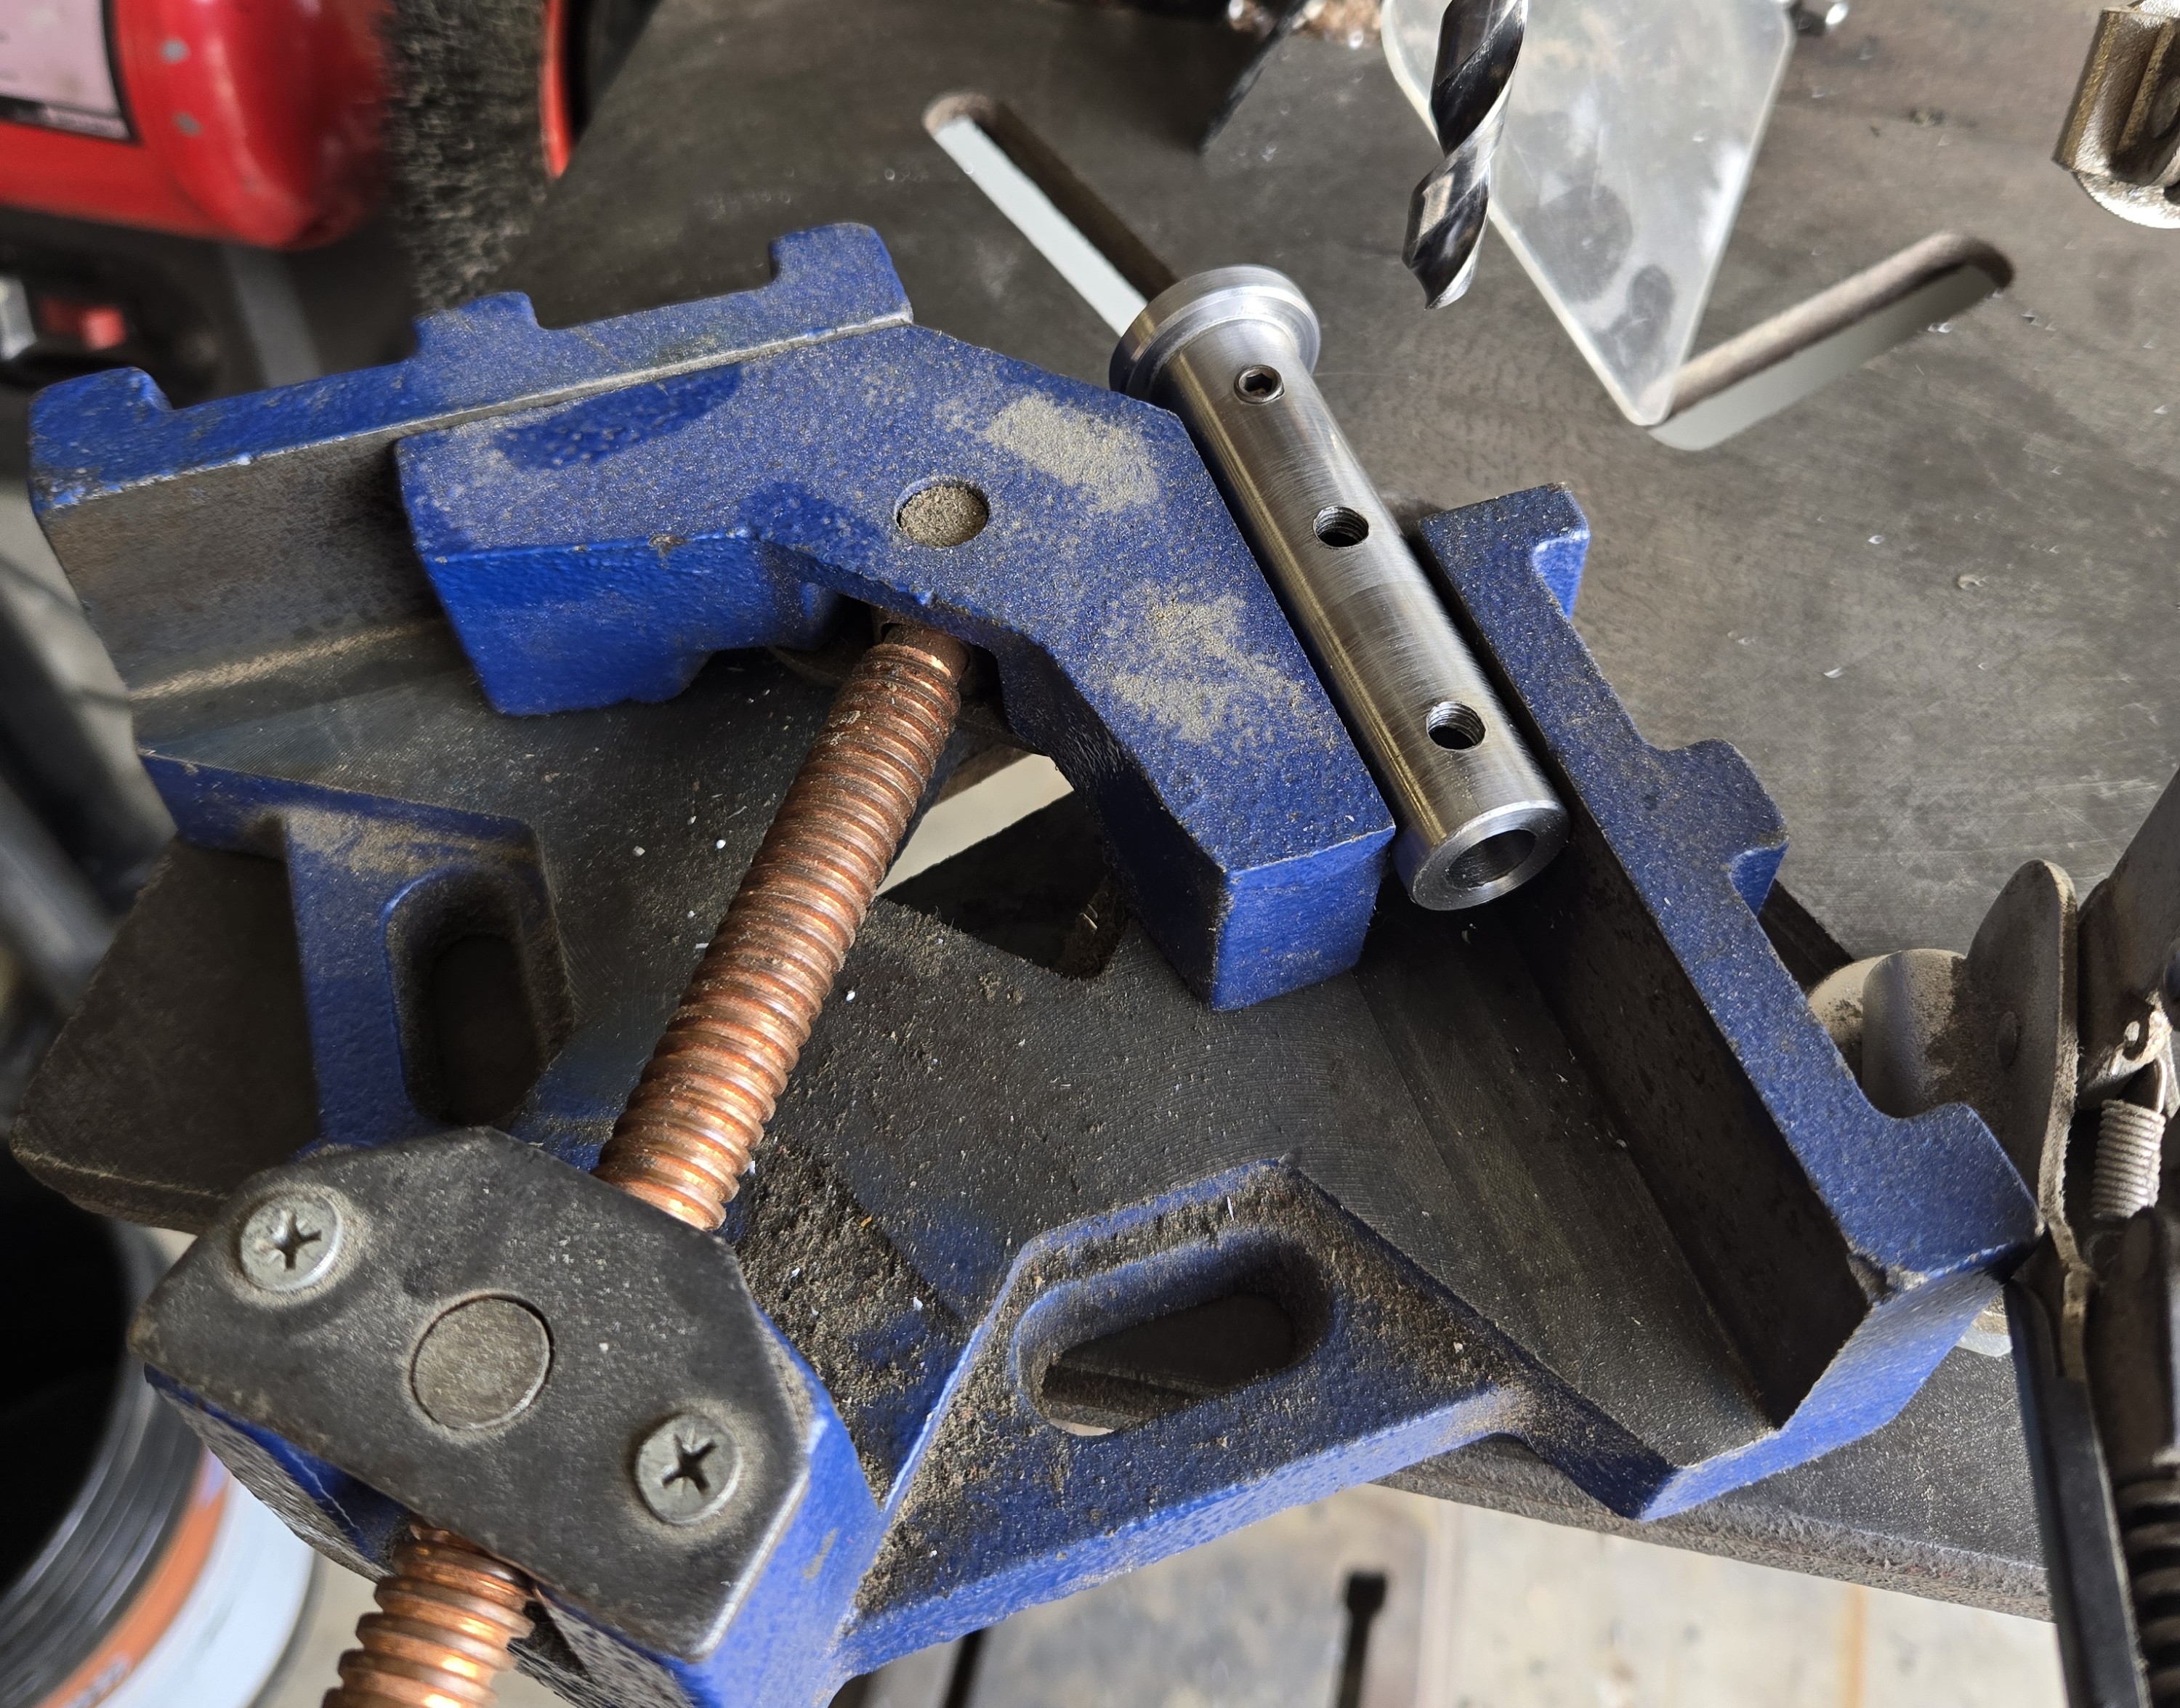
Now that the adapter was turned, I had to finally consider how I was going to hold the boring bar in the holder. The bar it self has a flat for set screws to touch down on and I do not have a slitting saw, or so much as a mill that would hold it, to make a clamping mechanism, so set screws it is. I scribed a line with the carriage to mark where I’d drill.
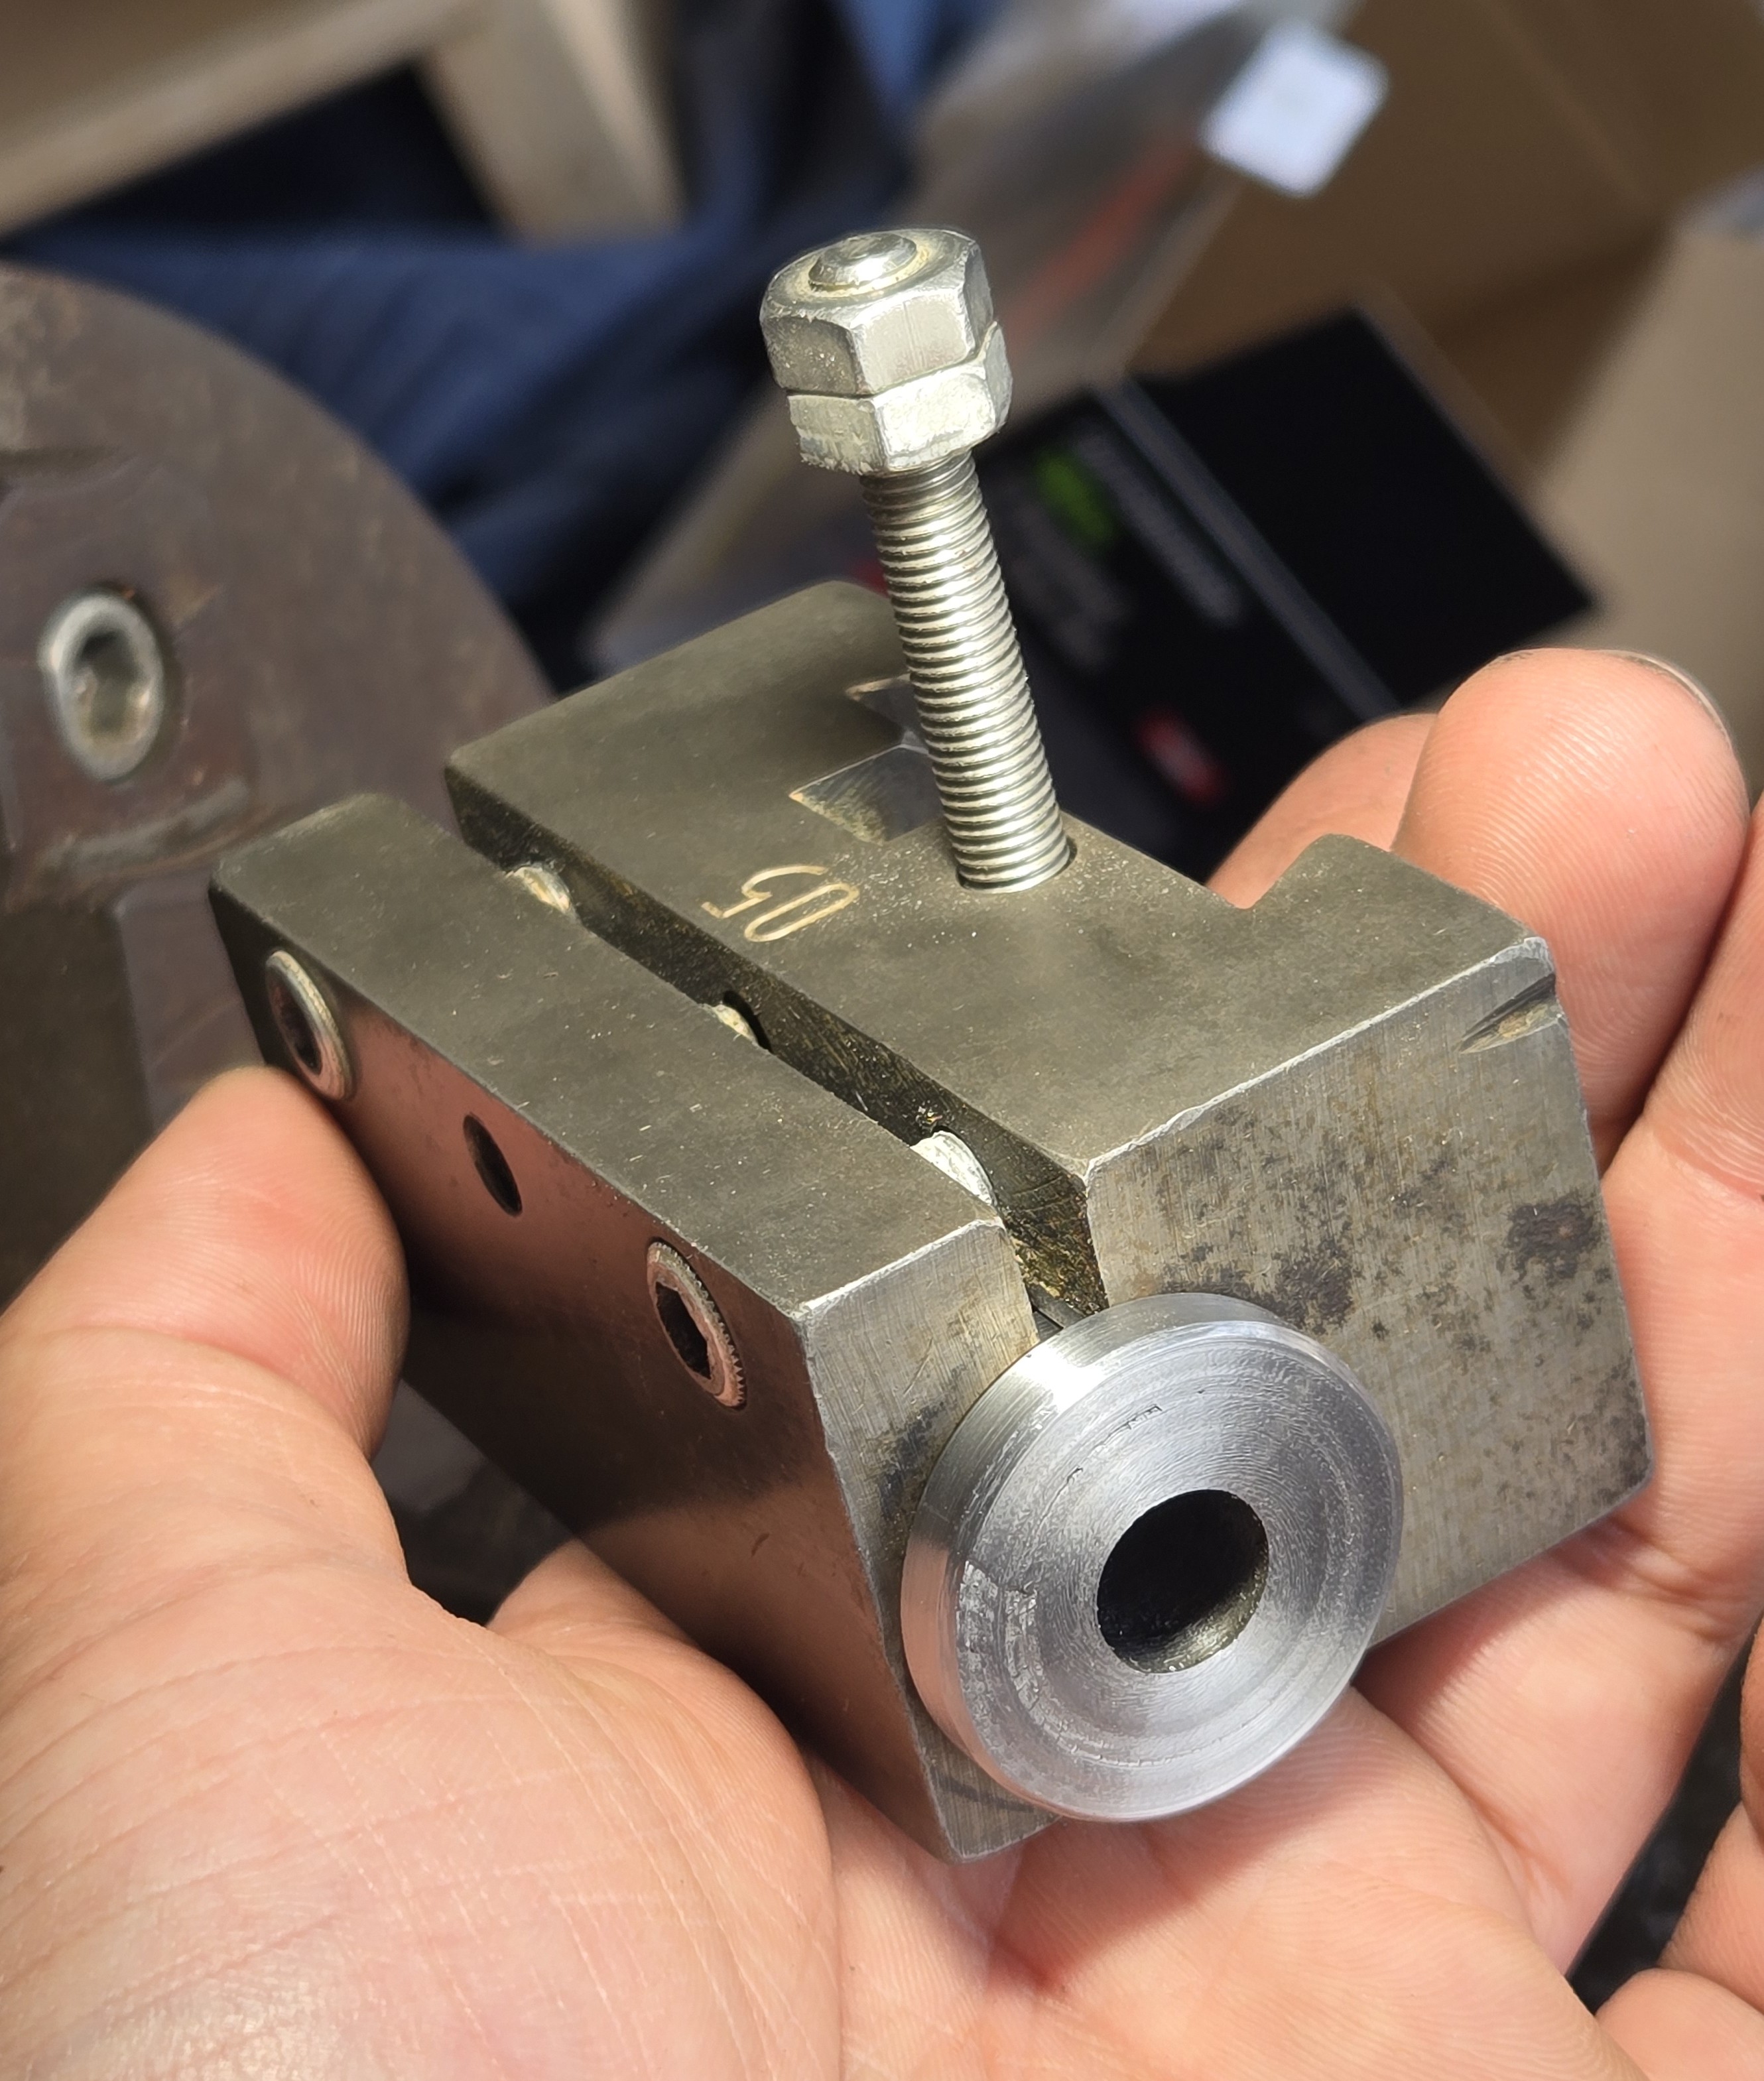
I’ve no drill press vise but this corner clamp vise works fairly well. I drilled and tapped some 1/4”-28 holes and put in some 1/4” long set screws.
Unfortunately they protrude a bit, so I thought I’d just turn the length to about 3/16”, maybe a little less. Unfortunately, the screws were a little too large for a 7/32” collet and too small for a 1/4” collet. There was simply no way to hold them properly in the chuck. I guess I could have just touched them on the grinder, there was only a 1/16” to take off, but I could not stand not having that gnarled, burred face inside my part. So, I overnighted some off of Amazon and went on my merry way.
All done: