Adapting Switches 2
I’ll save you the blurb on this one. Trucks need switch adapters.
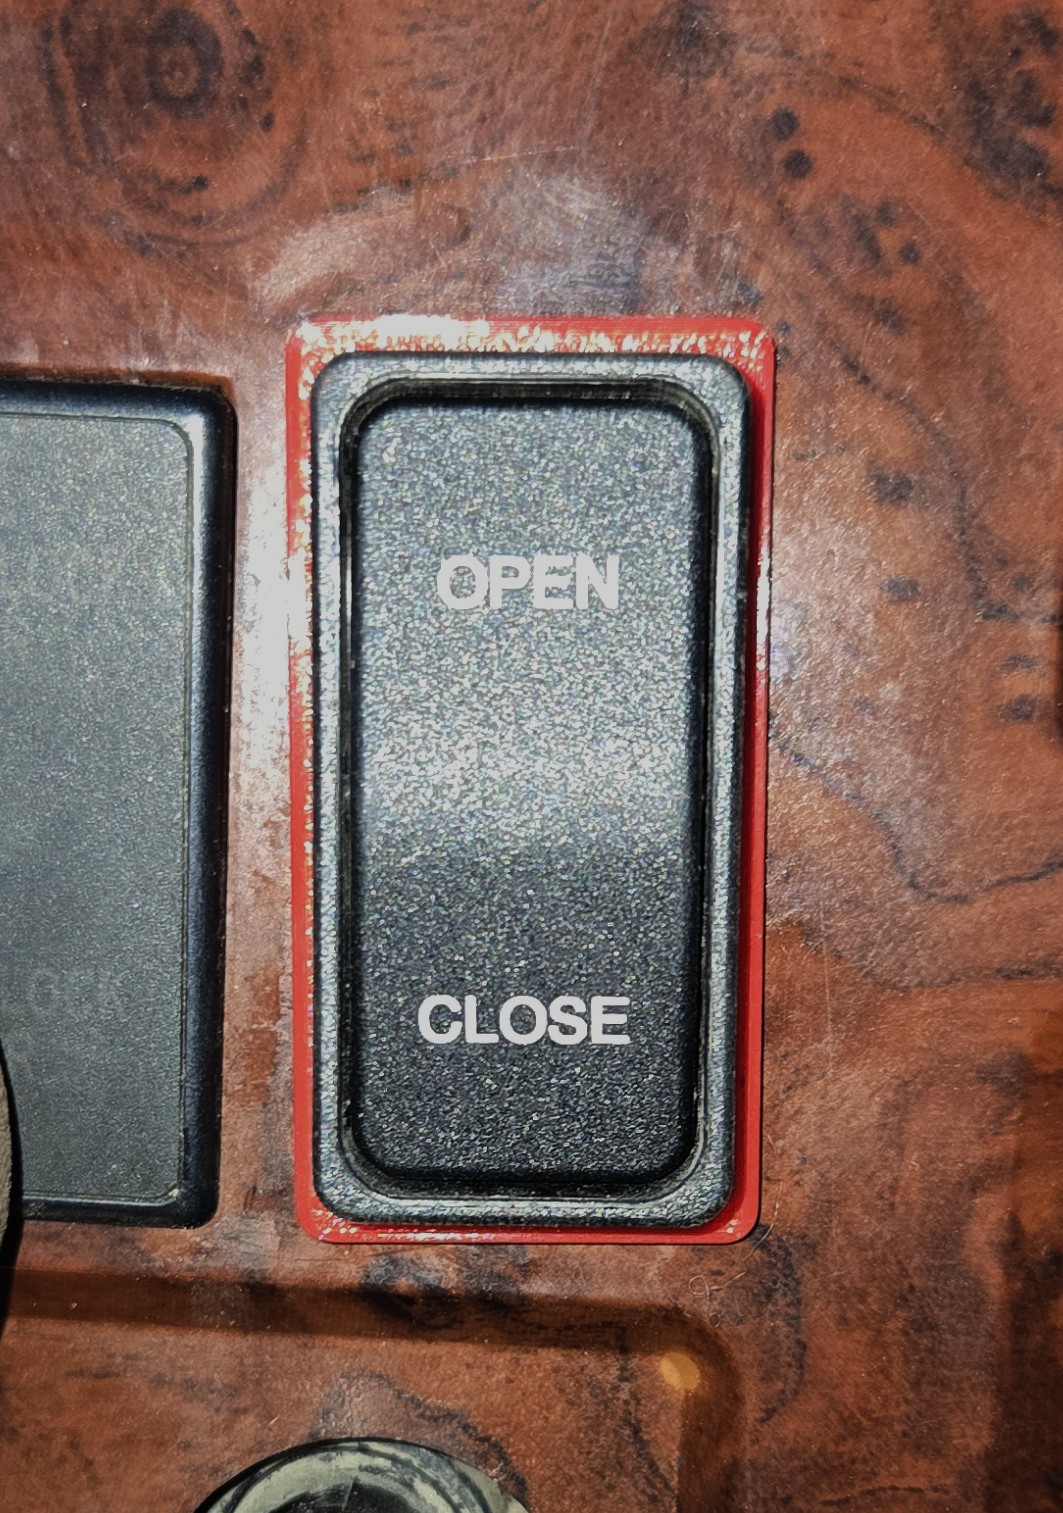
This one is for a tarp switch on a MACK CX13 (yes, the same one as last time).
I modeled this during my Onshape phase, and unfortunately they don’t have a built-in embedded viewer, so you’ll have to live with images and a link to the part.
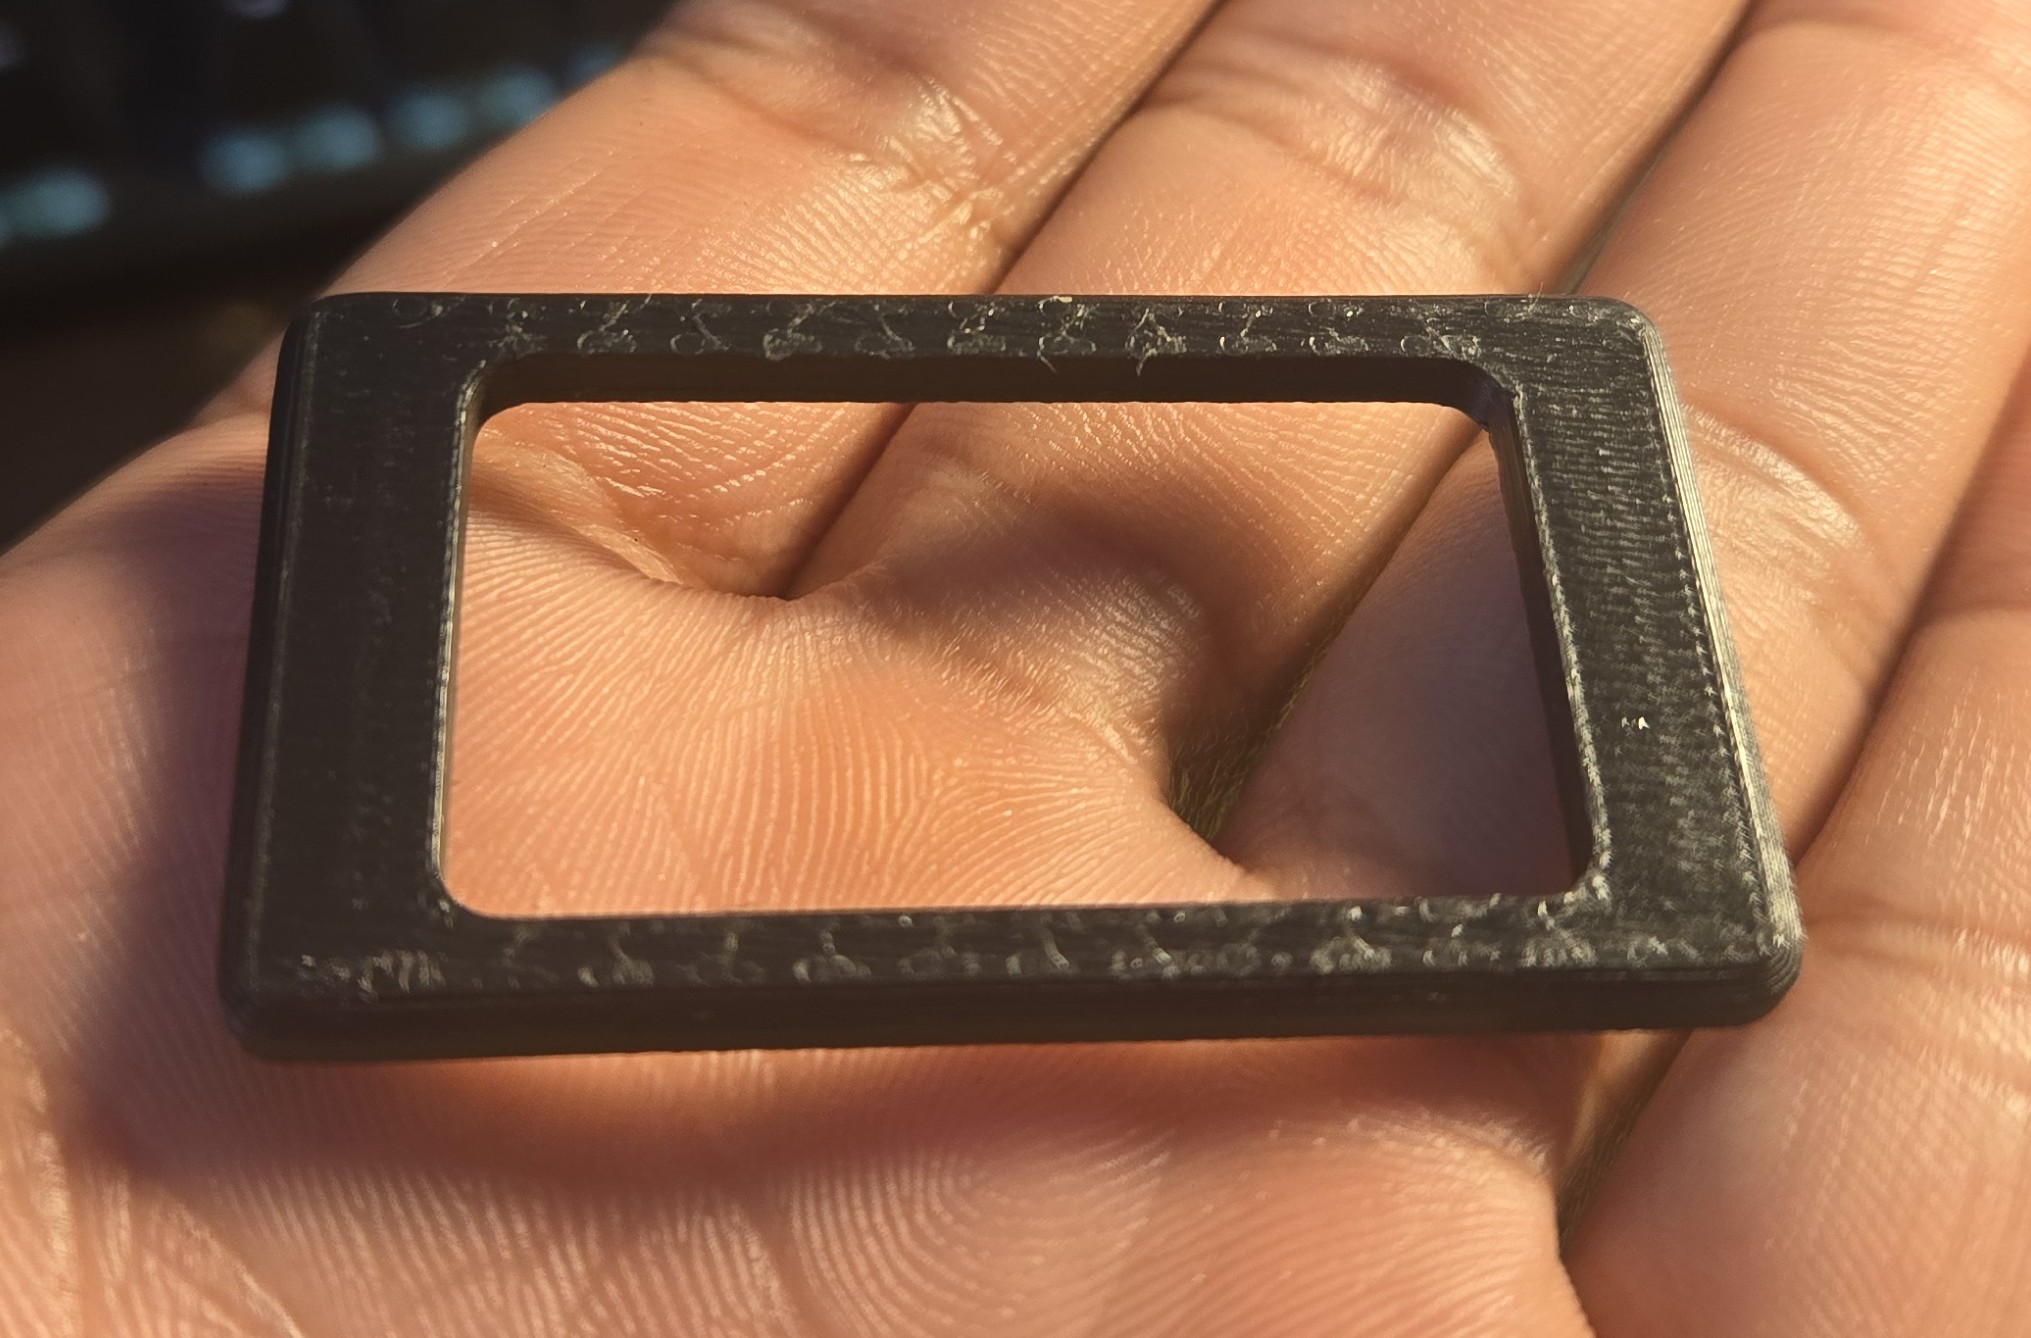
Very similar story to last time. I modeled the perimeter of the cover and the perimeter of the new switch and printed a test piece. In this case, the switch body fits the dash’s slot width, just not the height. This is not a problem per se, but we have to make the adapter wider than the original cover width. Thankfully the slots are spaced sparsely enough that we need not worry about overlap.
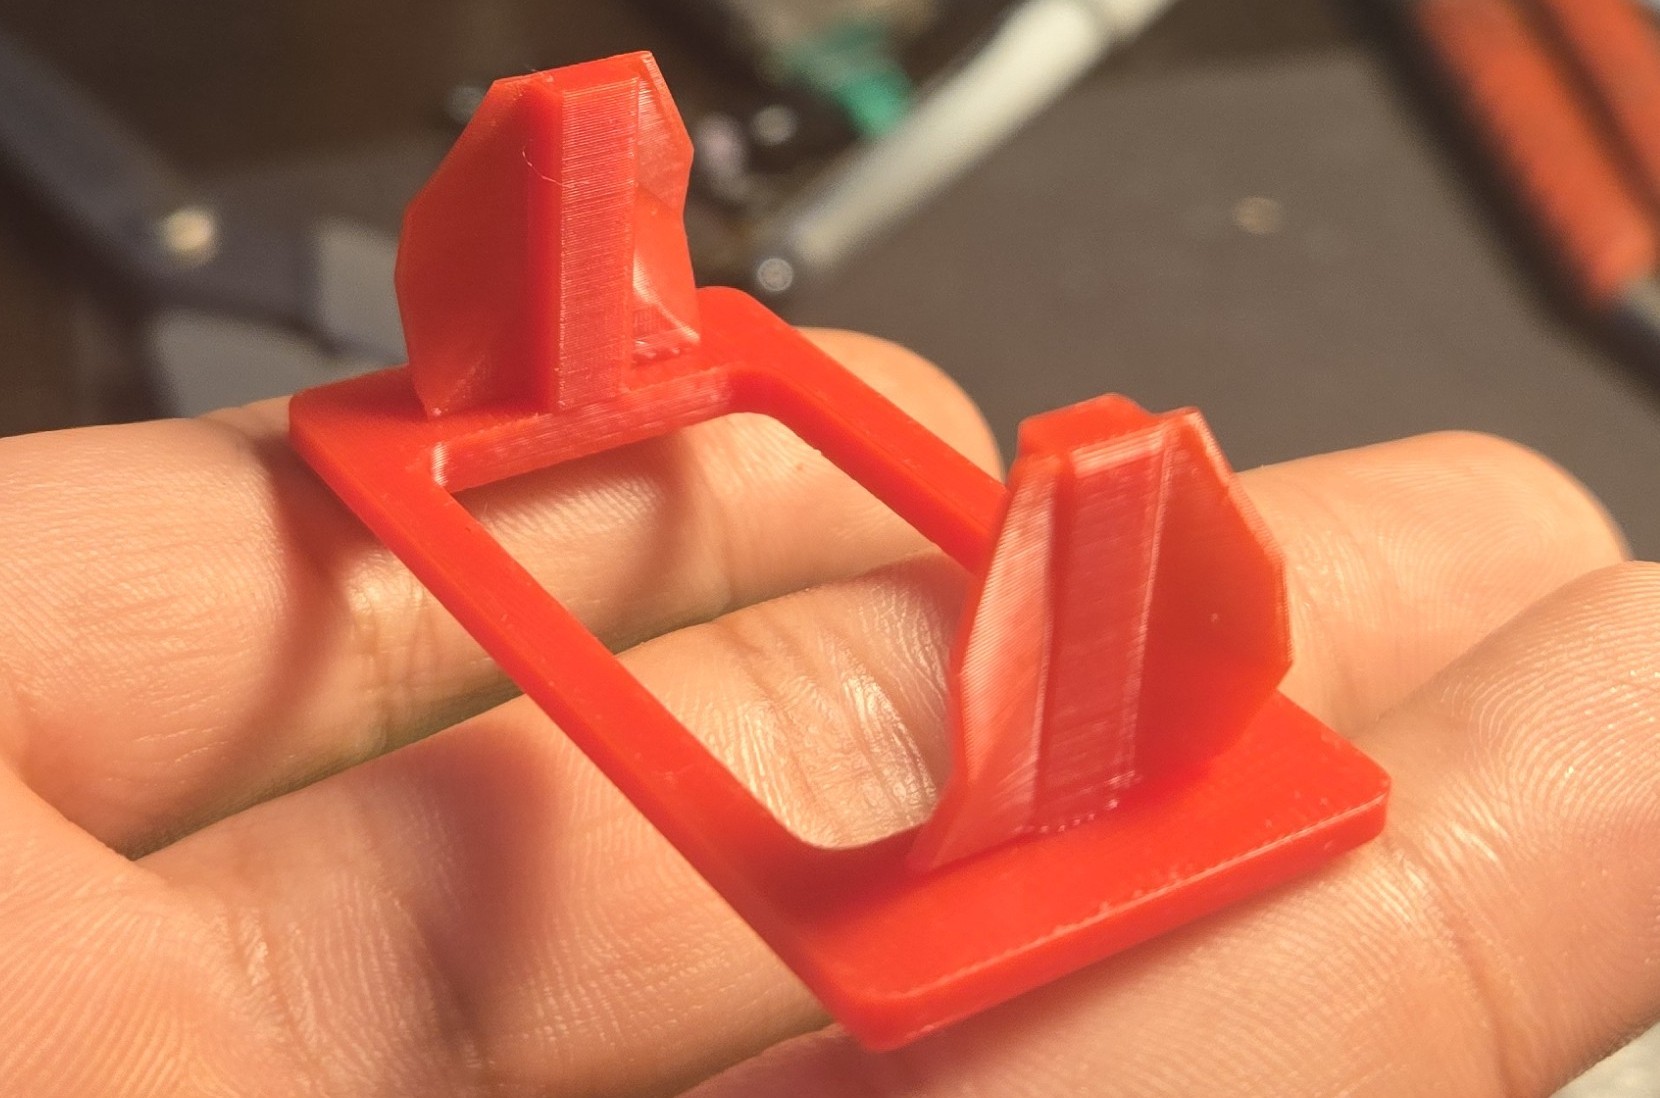
We can then immediately proceed to creating the clasp geometry. This adapter’s clasp features the same winged geometry as the last one, but I’ve decided to take a different route to modeling it. Instead of an extrusion with features being “cut out” of it, we simply loft the end profiles together into the continuous solid of the wing.
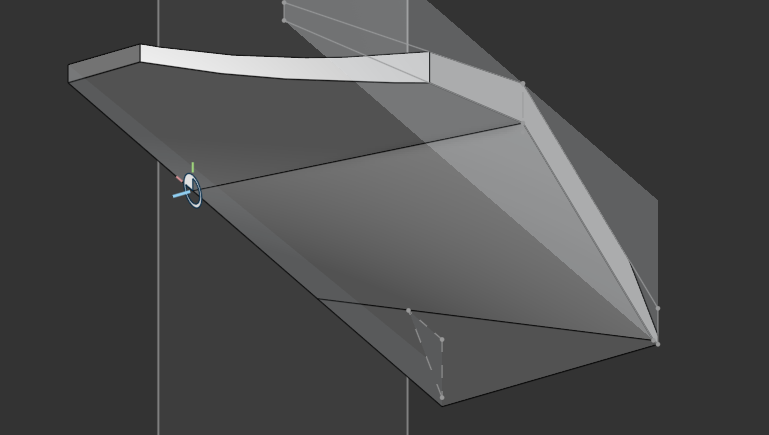
Unfortunately this switch does not have any reliefs in which to add extra meat to bear on, so we’l have to live with just a central pillar.
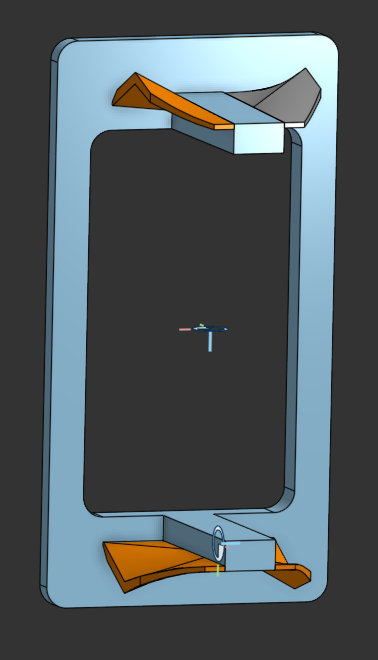
All modeled:
And printed:
And installed:

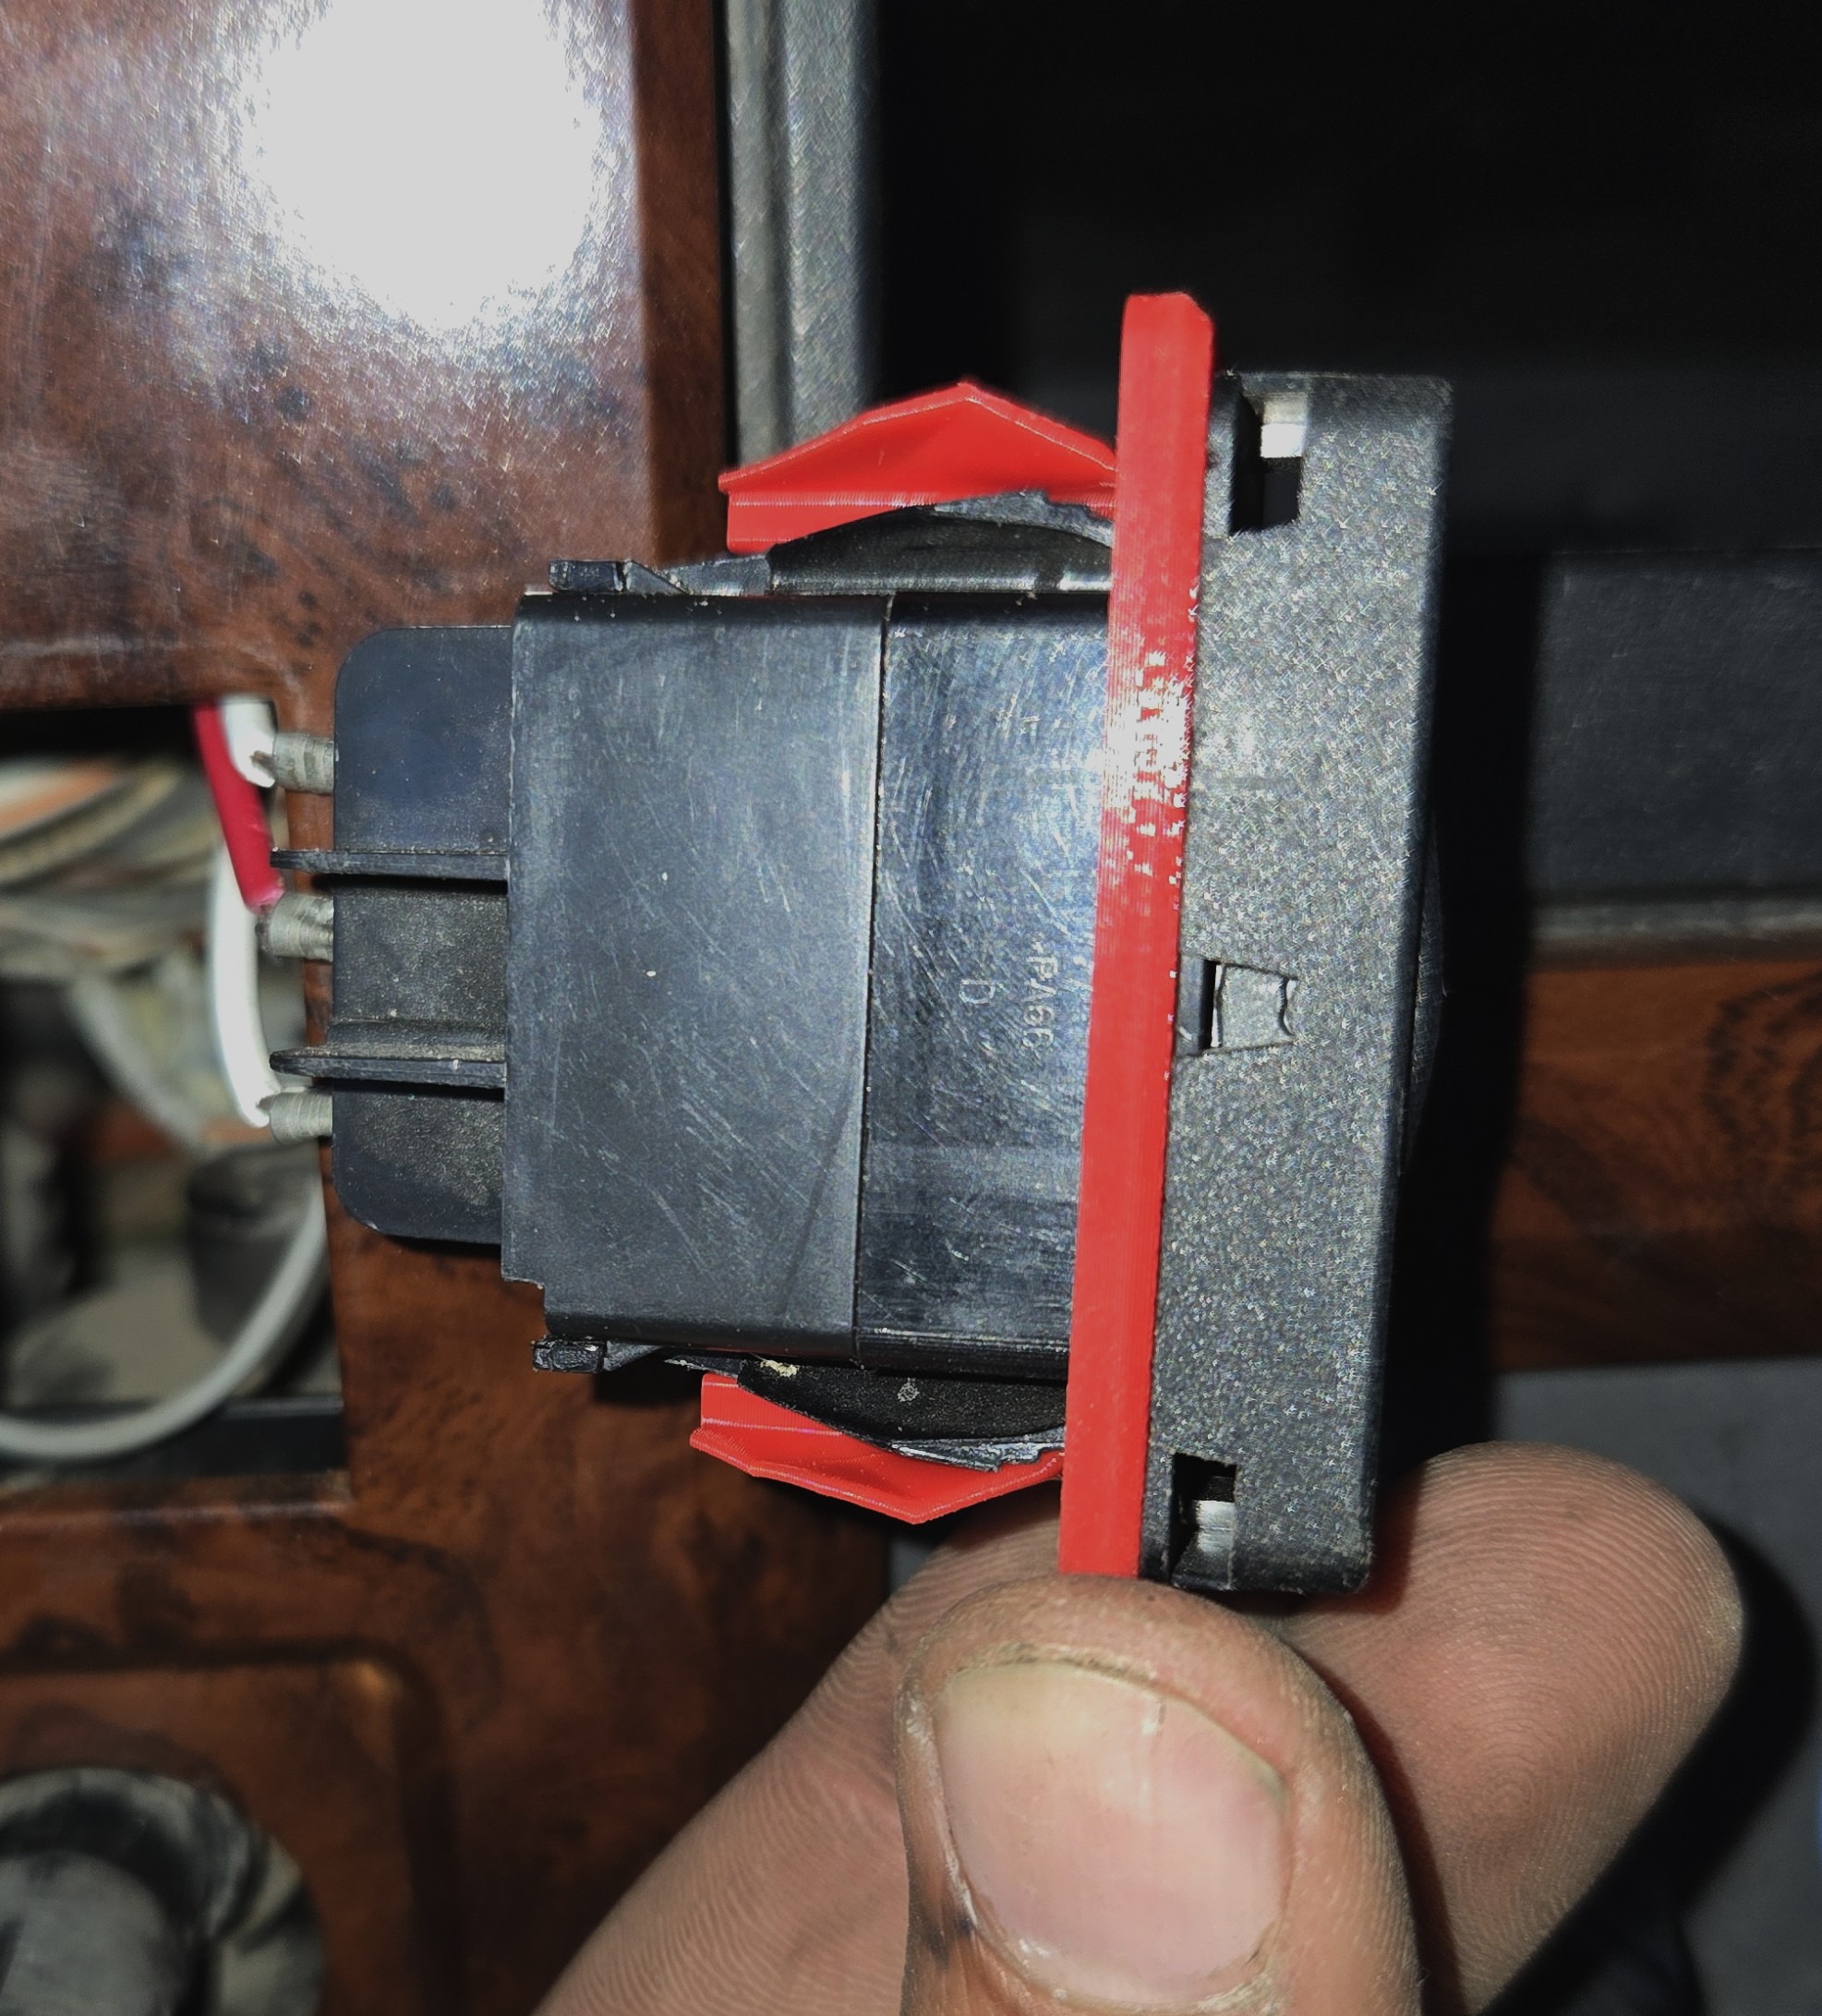
And in its final resting place: