Adapting Switches
Dump trucks require a lot of modification from the manufacturer specified equipment a dealer might sell a truck with– wet kits, tarp motor controls, extra pneumatics, &c– most of which requires extra switches to be mounted in the dash. Unfortunately, none of the major high truck manufactures have been able to agree what size a dash mounted switch ought to be, so it is often up to the mechanic to source the proper switch from the dealer.
In some cases, a kit requires a proprietary switch or, more often, a customer brings to me a kit with a switch included and does not want to pay dealer prices for a new (admittedly high quality) switch when they have a perfectly working switch right there; I recently purchased a fan override switch for a Volvo for $75.
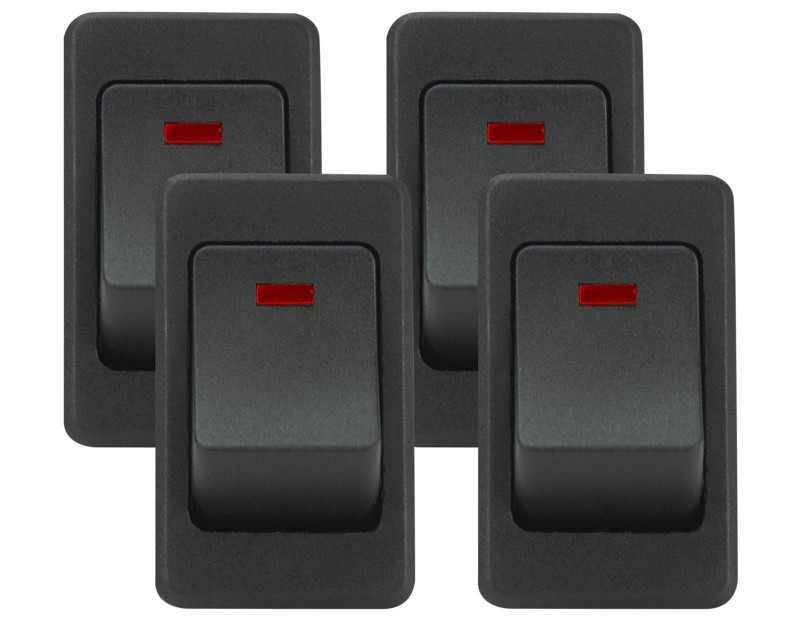
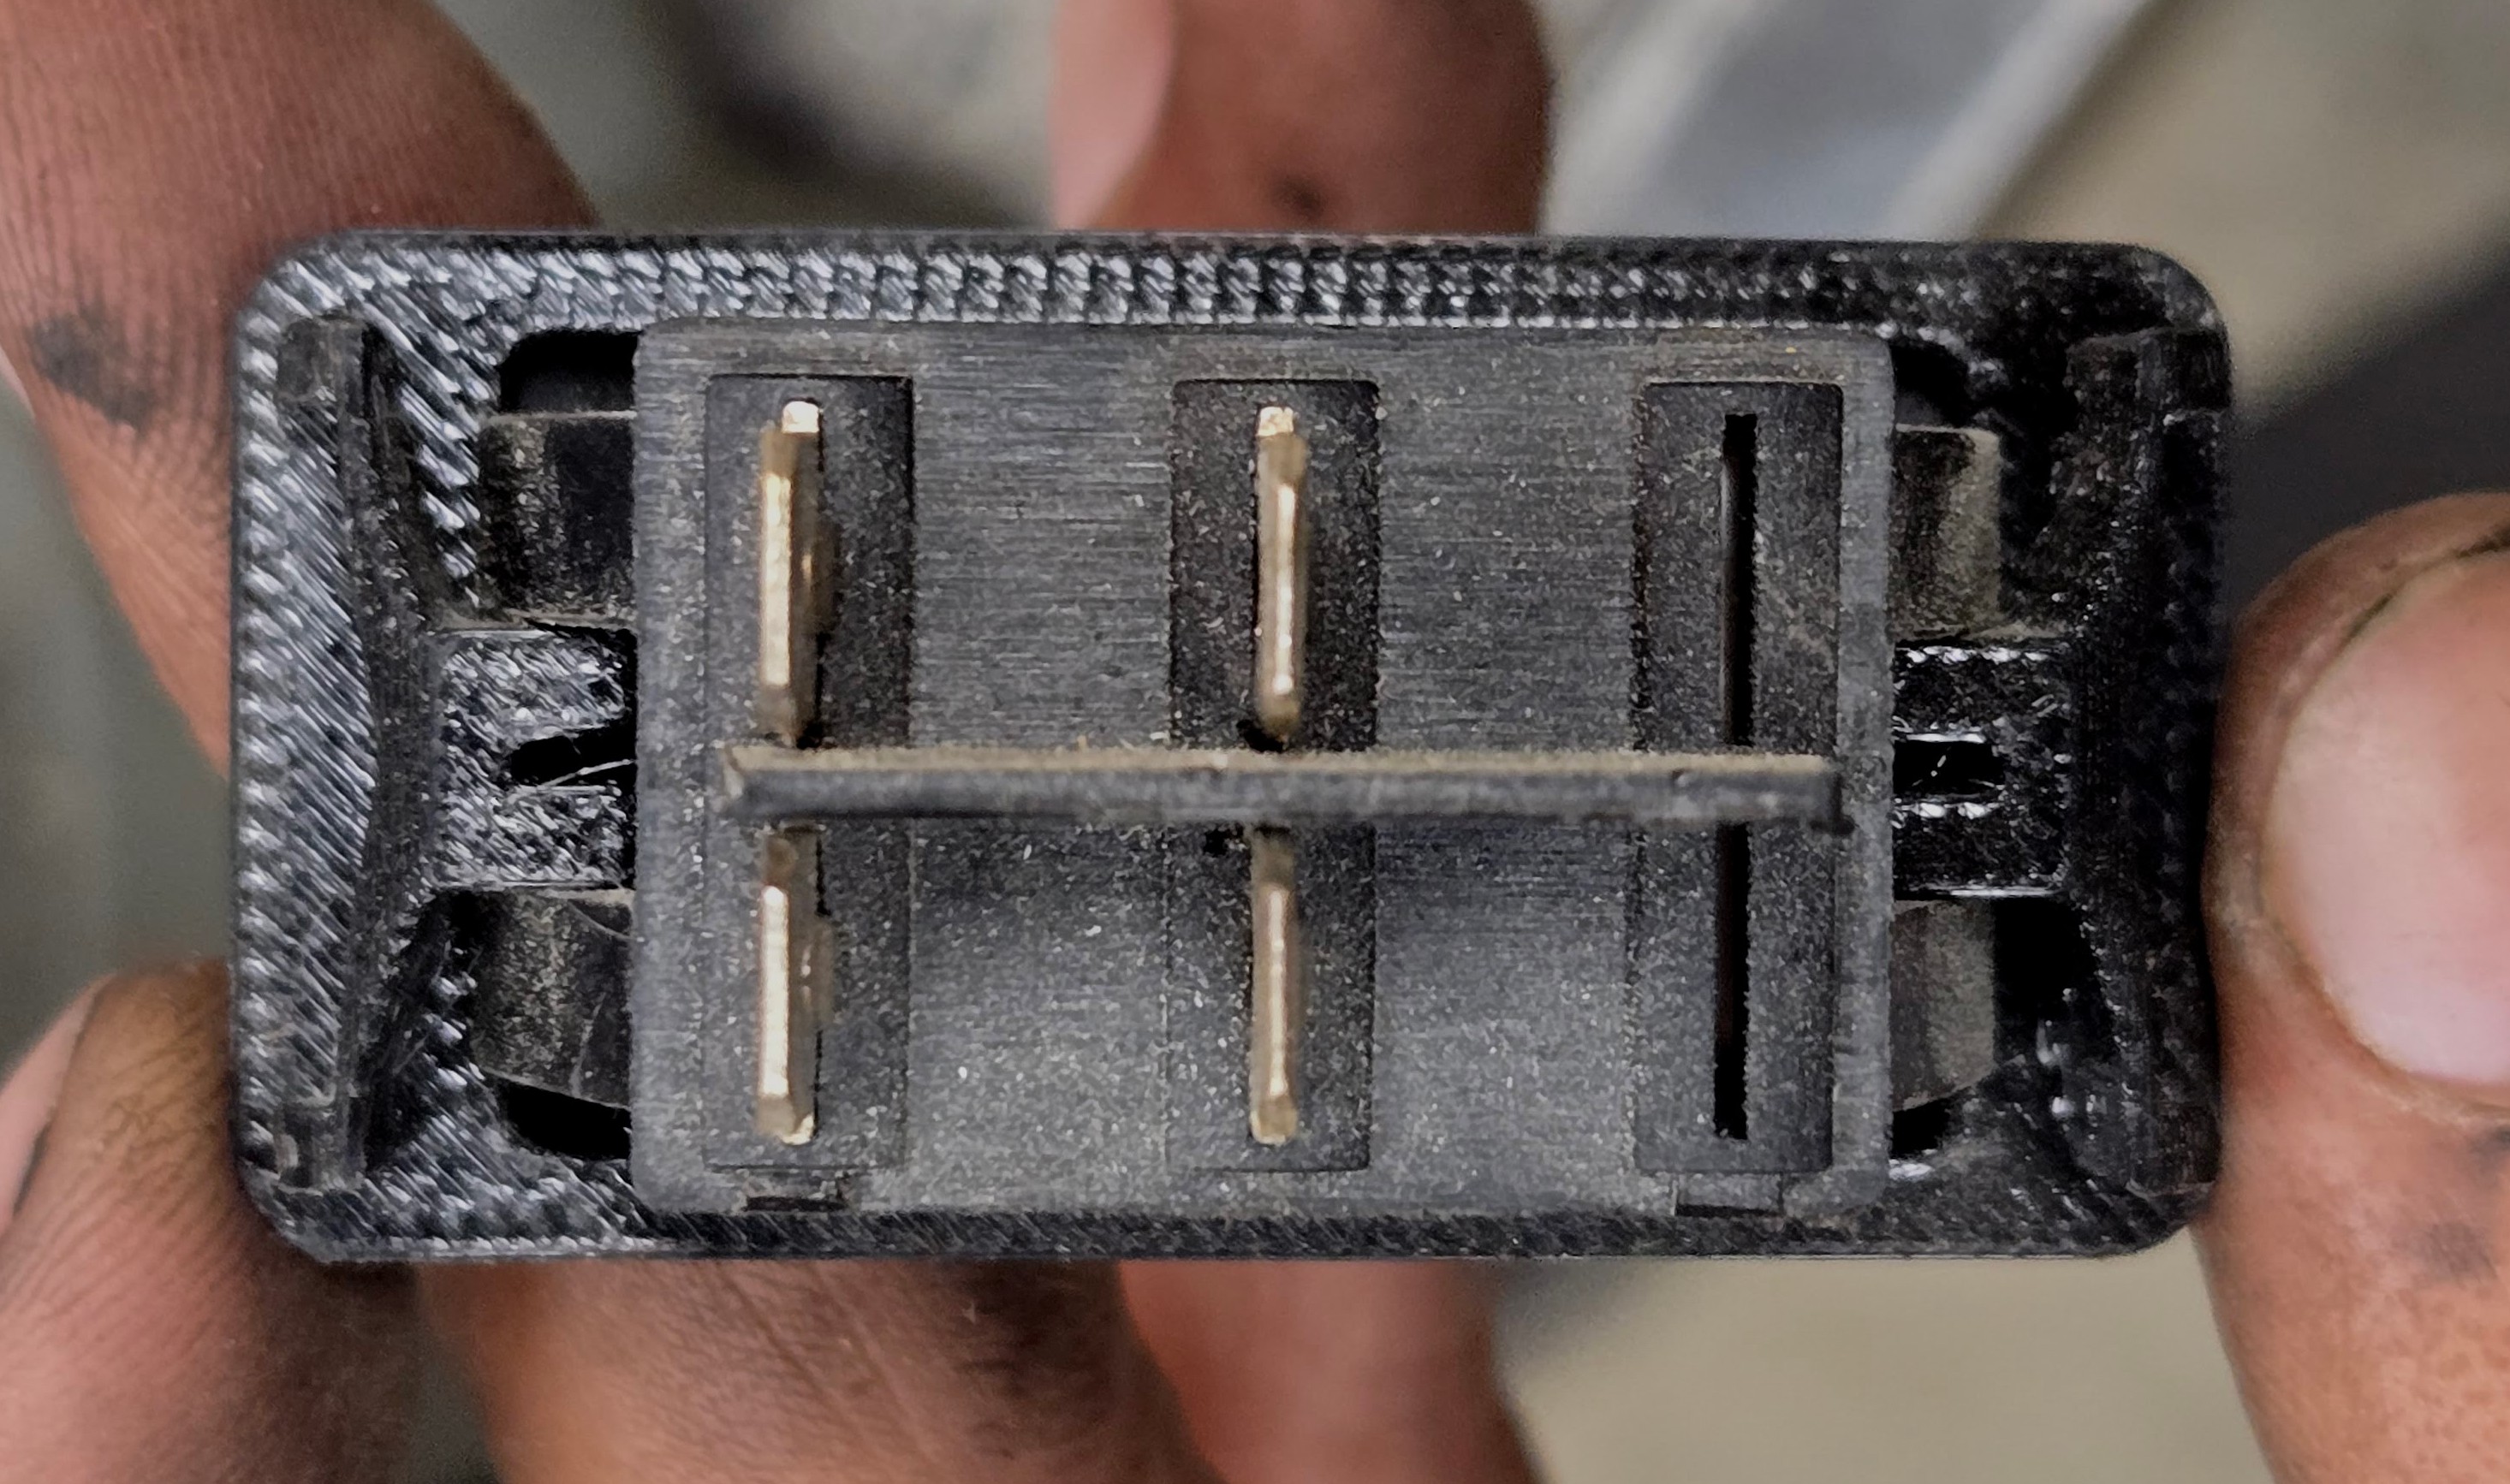
In today’s case, we have a MACK CX13 in for a whole dump truck setup: a wet kit, tarp electrics, tailgate controls, and some lights. For the new fog lamps, the customer provided to me a switch, a generic from an auto parts store, that is too small to fit in the Mack’s slots.
It’s a slow weekend so I thought I’d take some time to design and 3D print an adapter.
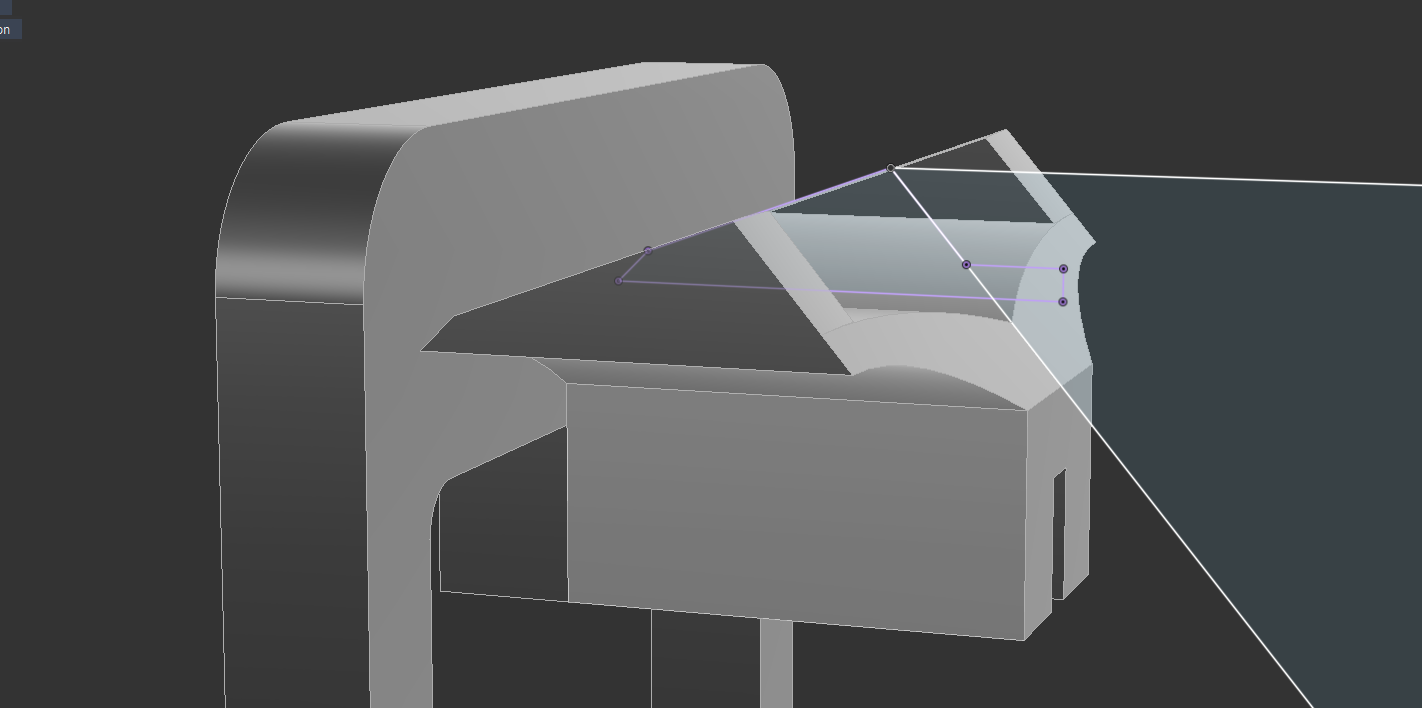
The geometry on this is pretty tricky so I’ll just show you the model outright:
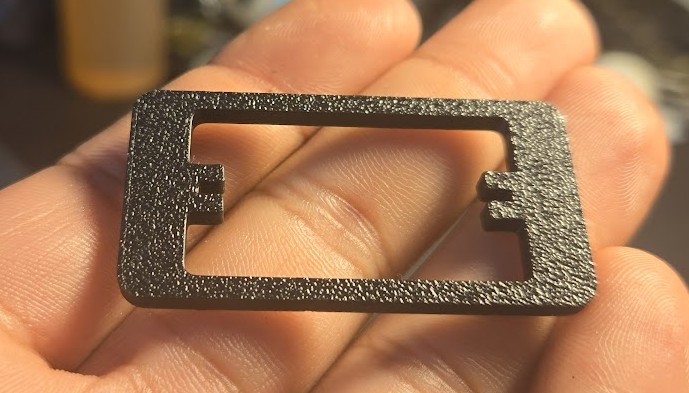
The adapter is modeled off the blank cover originally set in the hole. I modeled the perimeter of the cover and the perimeter of the new switch and printed a test piece.
I had to cut off the test piece from the switch body, it was flexing too much to depress the clasp.
Confirming this fit, I added in the features that wrap the rib on the switch body. The ribs on the switch body slide into the relief on the adapter and allow the winged portion that snaps into the dash to bear on the switch itself, which is made of some kind of fiber reinforced plastic. This design would not work otherwise, as the clasp does not have a large cross-sectional area and the only sensible way to print this is face down. The name of the game when designing this kind of thing is adding in plastic wherever you can. I also increased the extrusion thickness of the face to 4mm from 3mm. This was enough that I was able to actually remove this faceplate without having to cut it off.
We can then immediately proceed to creating the clasp geometry.
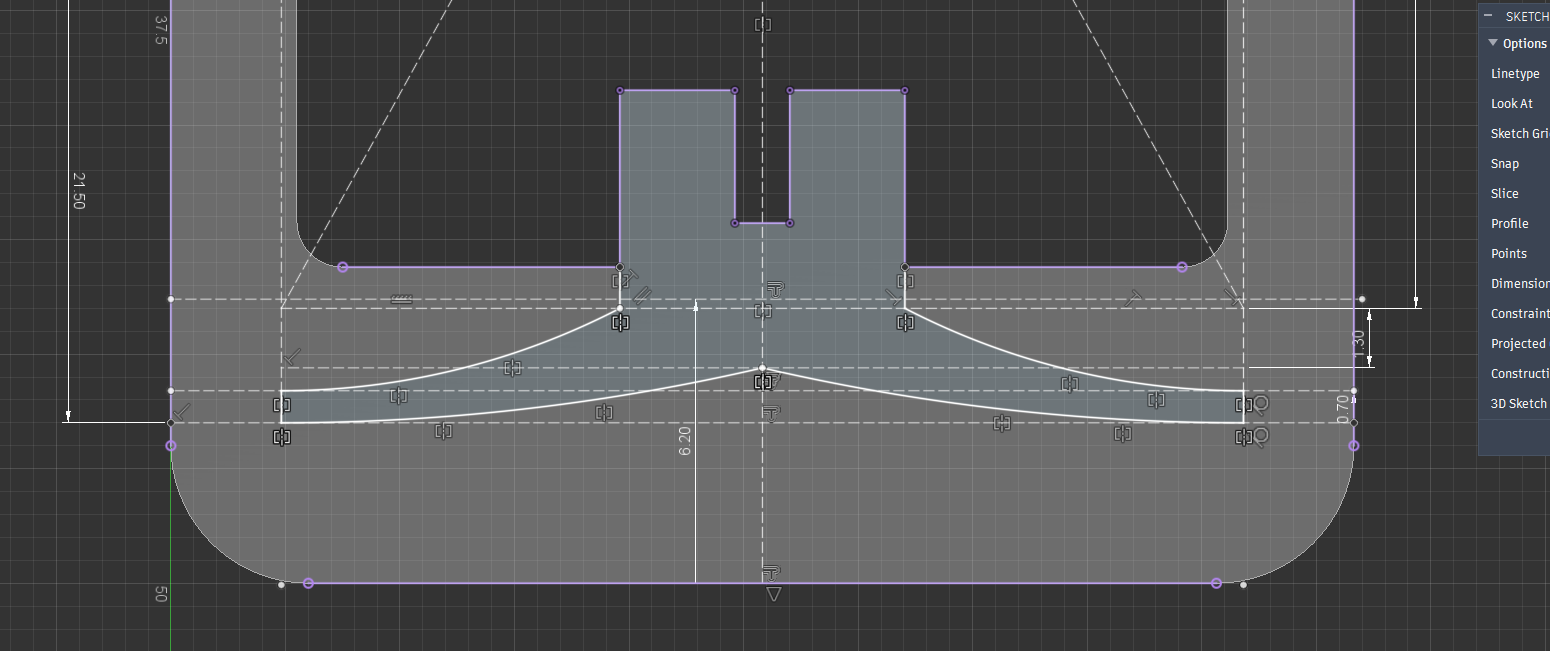
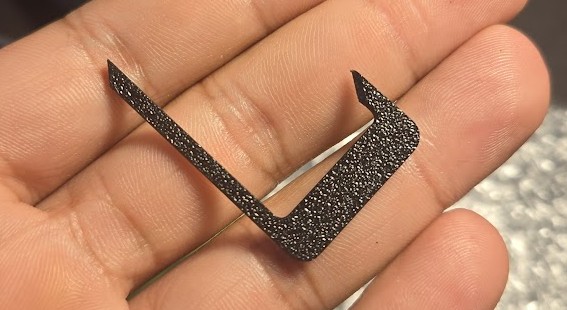
After an extrusion, the bottom is given a hefty chamfer such that the wing meets the face plate with infinitesimal width. We sketch a triangle on the end of the wing and extrude it inward. This wedge is the actual clasp, the wings are a spring for the clasp.
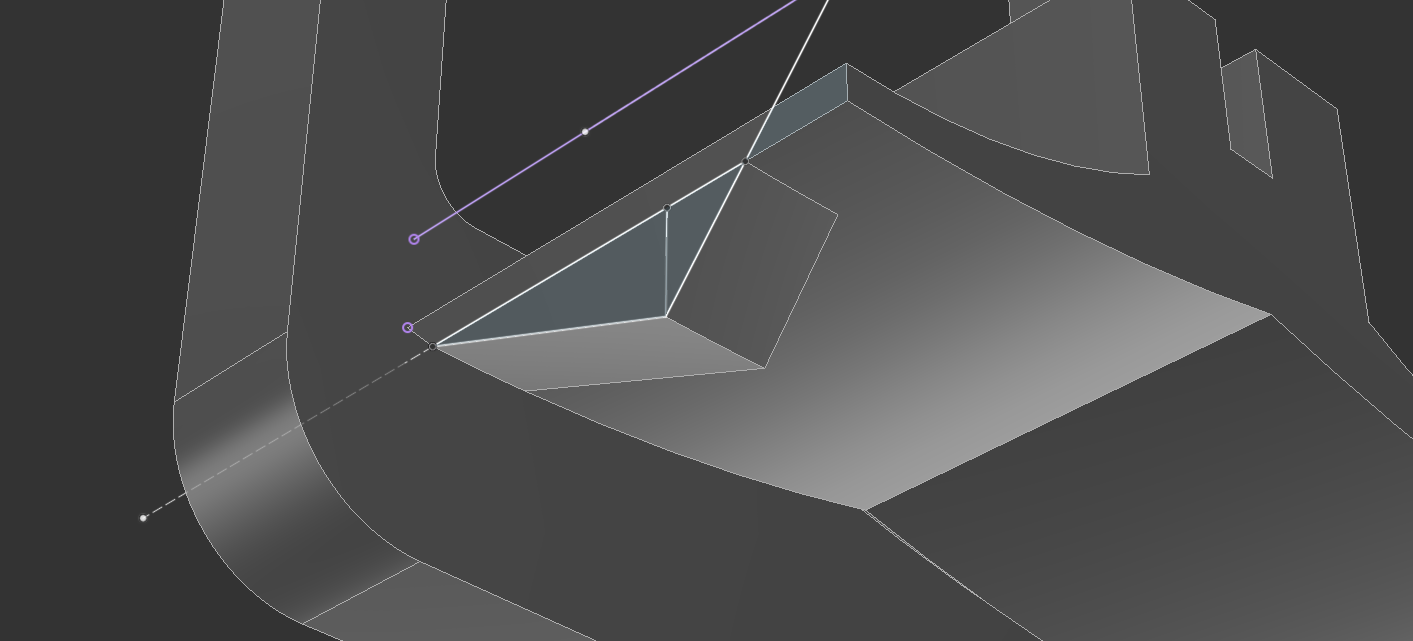
The final feature is ostensibly a chamfer, but spanning several features, so it’s performed via cutting operation.
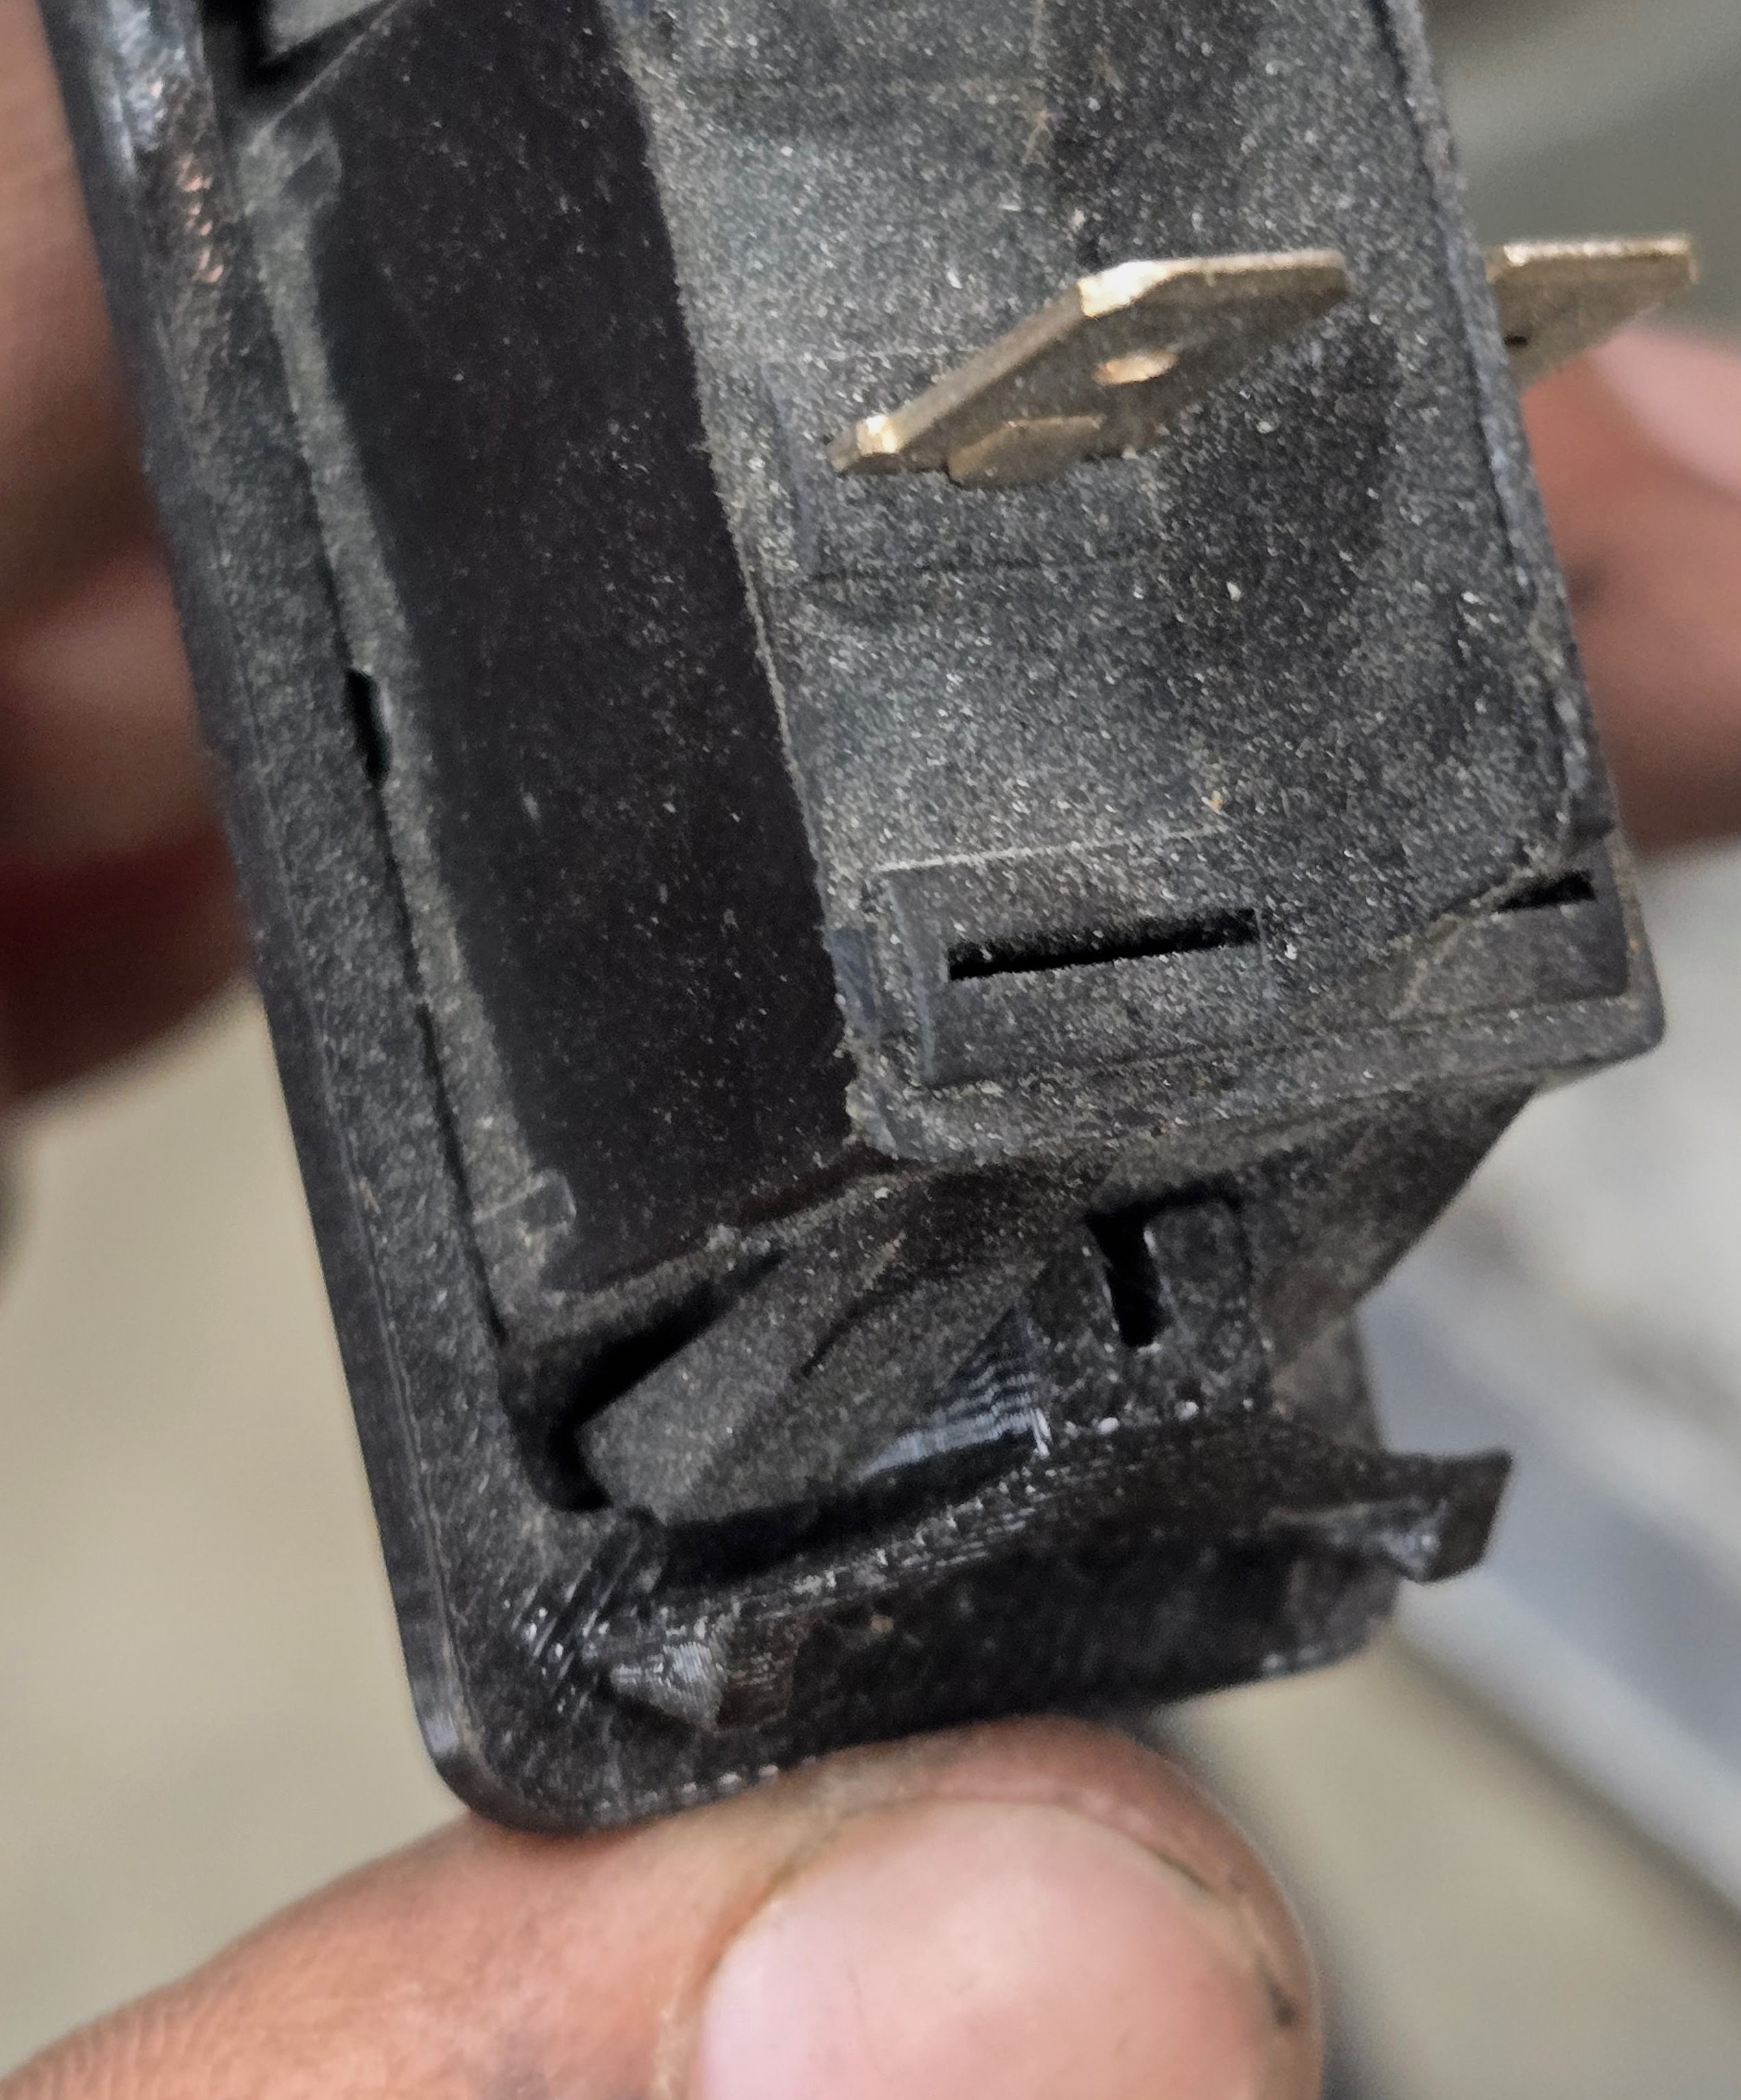
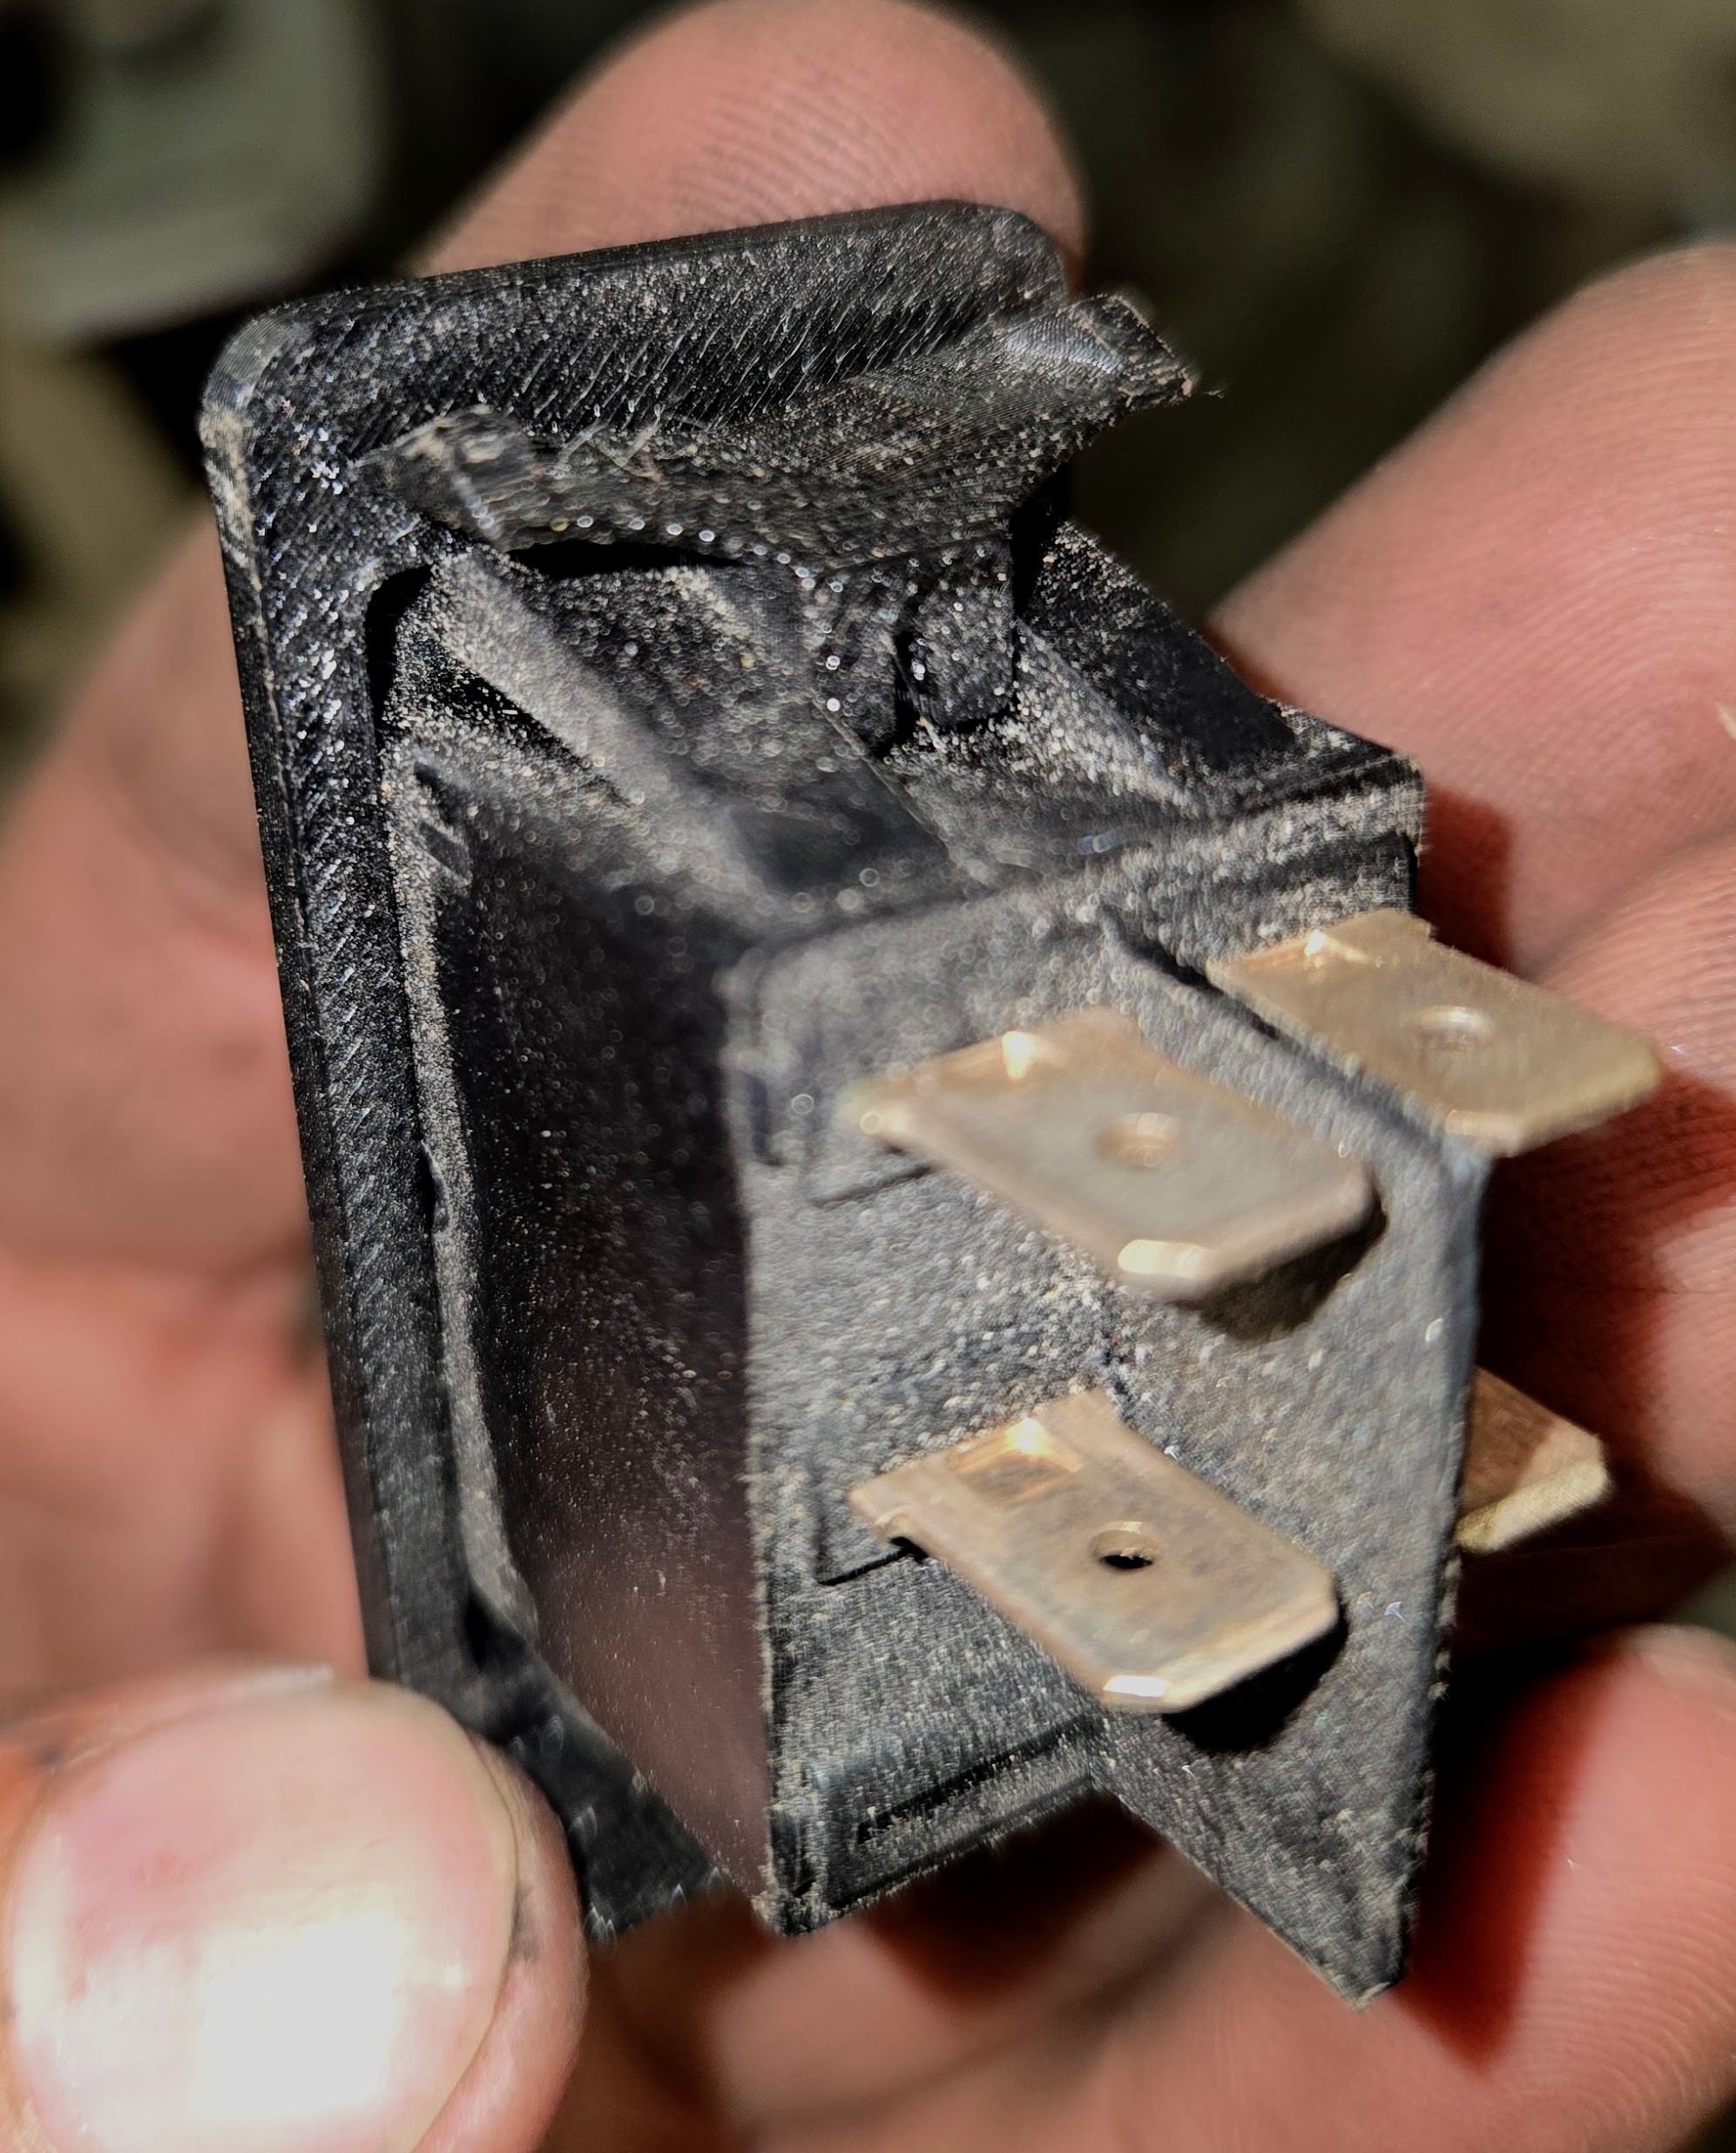
The clasp of the switch body itself nestles very tightly inside the clasp of the adapter.
I really ought to have blown this off before I took the pictures; it was laying around the shop for quite a while before getting installed.
And in its final resting place:
